A few years ago a friend of mine asked me if could make her some Matilda Jane style shorties. She loves them but they are not cheap & the sell out fast. So the last few years I have made some from knit fabric, but she has also had me make some of her favorite Gymboree leggings into them as well (She is in Las Vegas & don’t need full length ones most of the year).
So after a few years I finally got around to making a tutorial! (Apparently that is the turn around time for a lot of things around my house, lol) Full length fitting leggings in great shape work best but if you get coordinating knit for the ruffles you can use capri’s, leggings with bad knees & shorts including wider/looser shorts & capri’s. You can also add the same type of ruffles to capri’s & full length leggings!
UPCYCLED RUFFLE SHORTIES FROM LEGGINGS TUTORIAL
SUPPLIES:
1 pair of full length knit leggings in current size or 1 size bigger OR 1 pair of too short leggings, leggings with worn knees, capri length leggings or bike shorts and 1/8-1/4 yard of coordinating KNIT fabric.
Matching thread
Ruler
Scissors or rotary cutter
Washable marker or chalk wheel
Stick pins
Ball point or stretch needle in your machine
Seam ripper
Elastic thread (optional for gathering)
STEP 1:
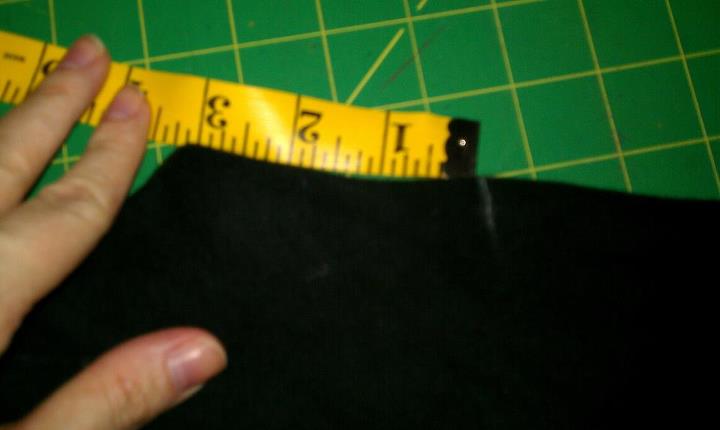
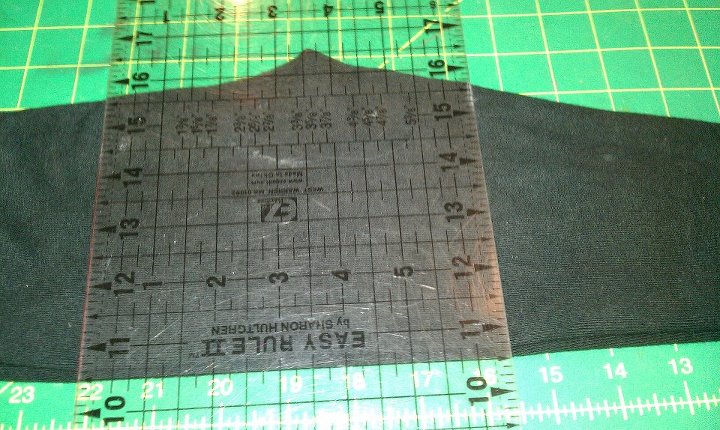
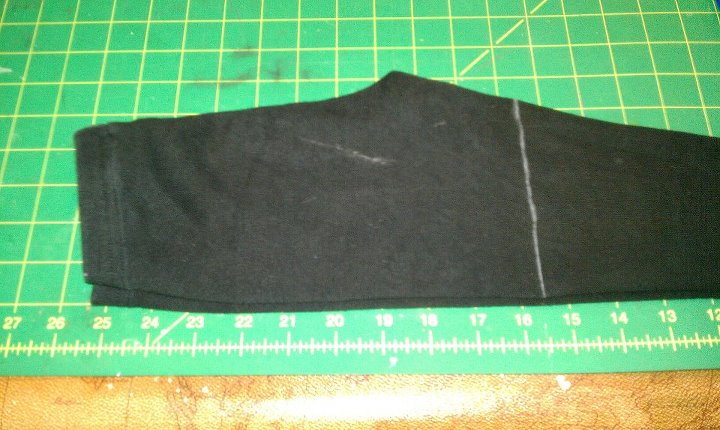
Measure the inseam on a pair of shorts that fit or measure on your little one. Then with your leggings folded in half mark that measurement -1/2″ on the inseam. Then lining the lines of your ruler up with the OUTSEAM & your new mark draw a line & cut off the legs. IF YOU WANT TO JUST ADD RUFFLES TO CAPRI’s OR FULL LENGTH LEGGINGS SKIP THIS STEP & FOLLOW THE REST OF THE DIRECTIONS FOR COORDINATING RUFFLES FROM KNIT FABRIC.
STEP 2:
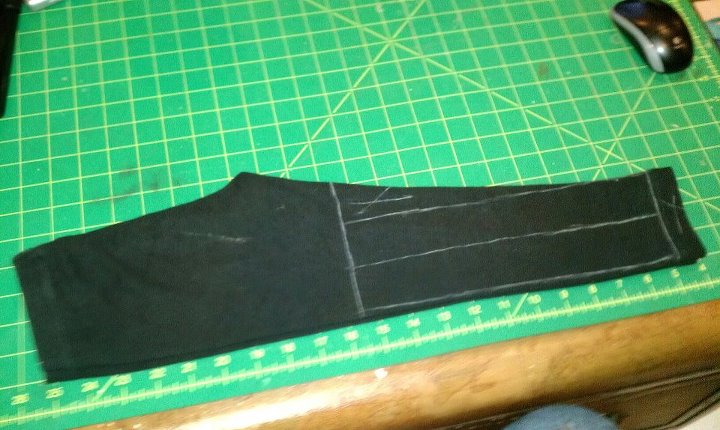
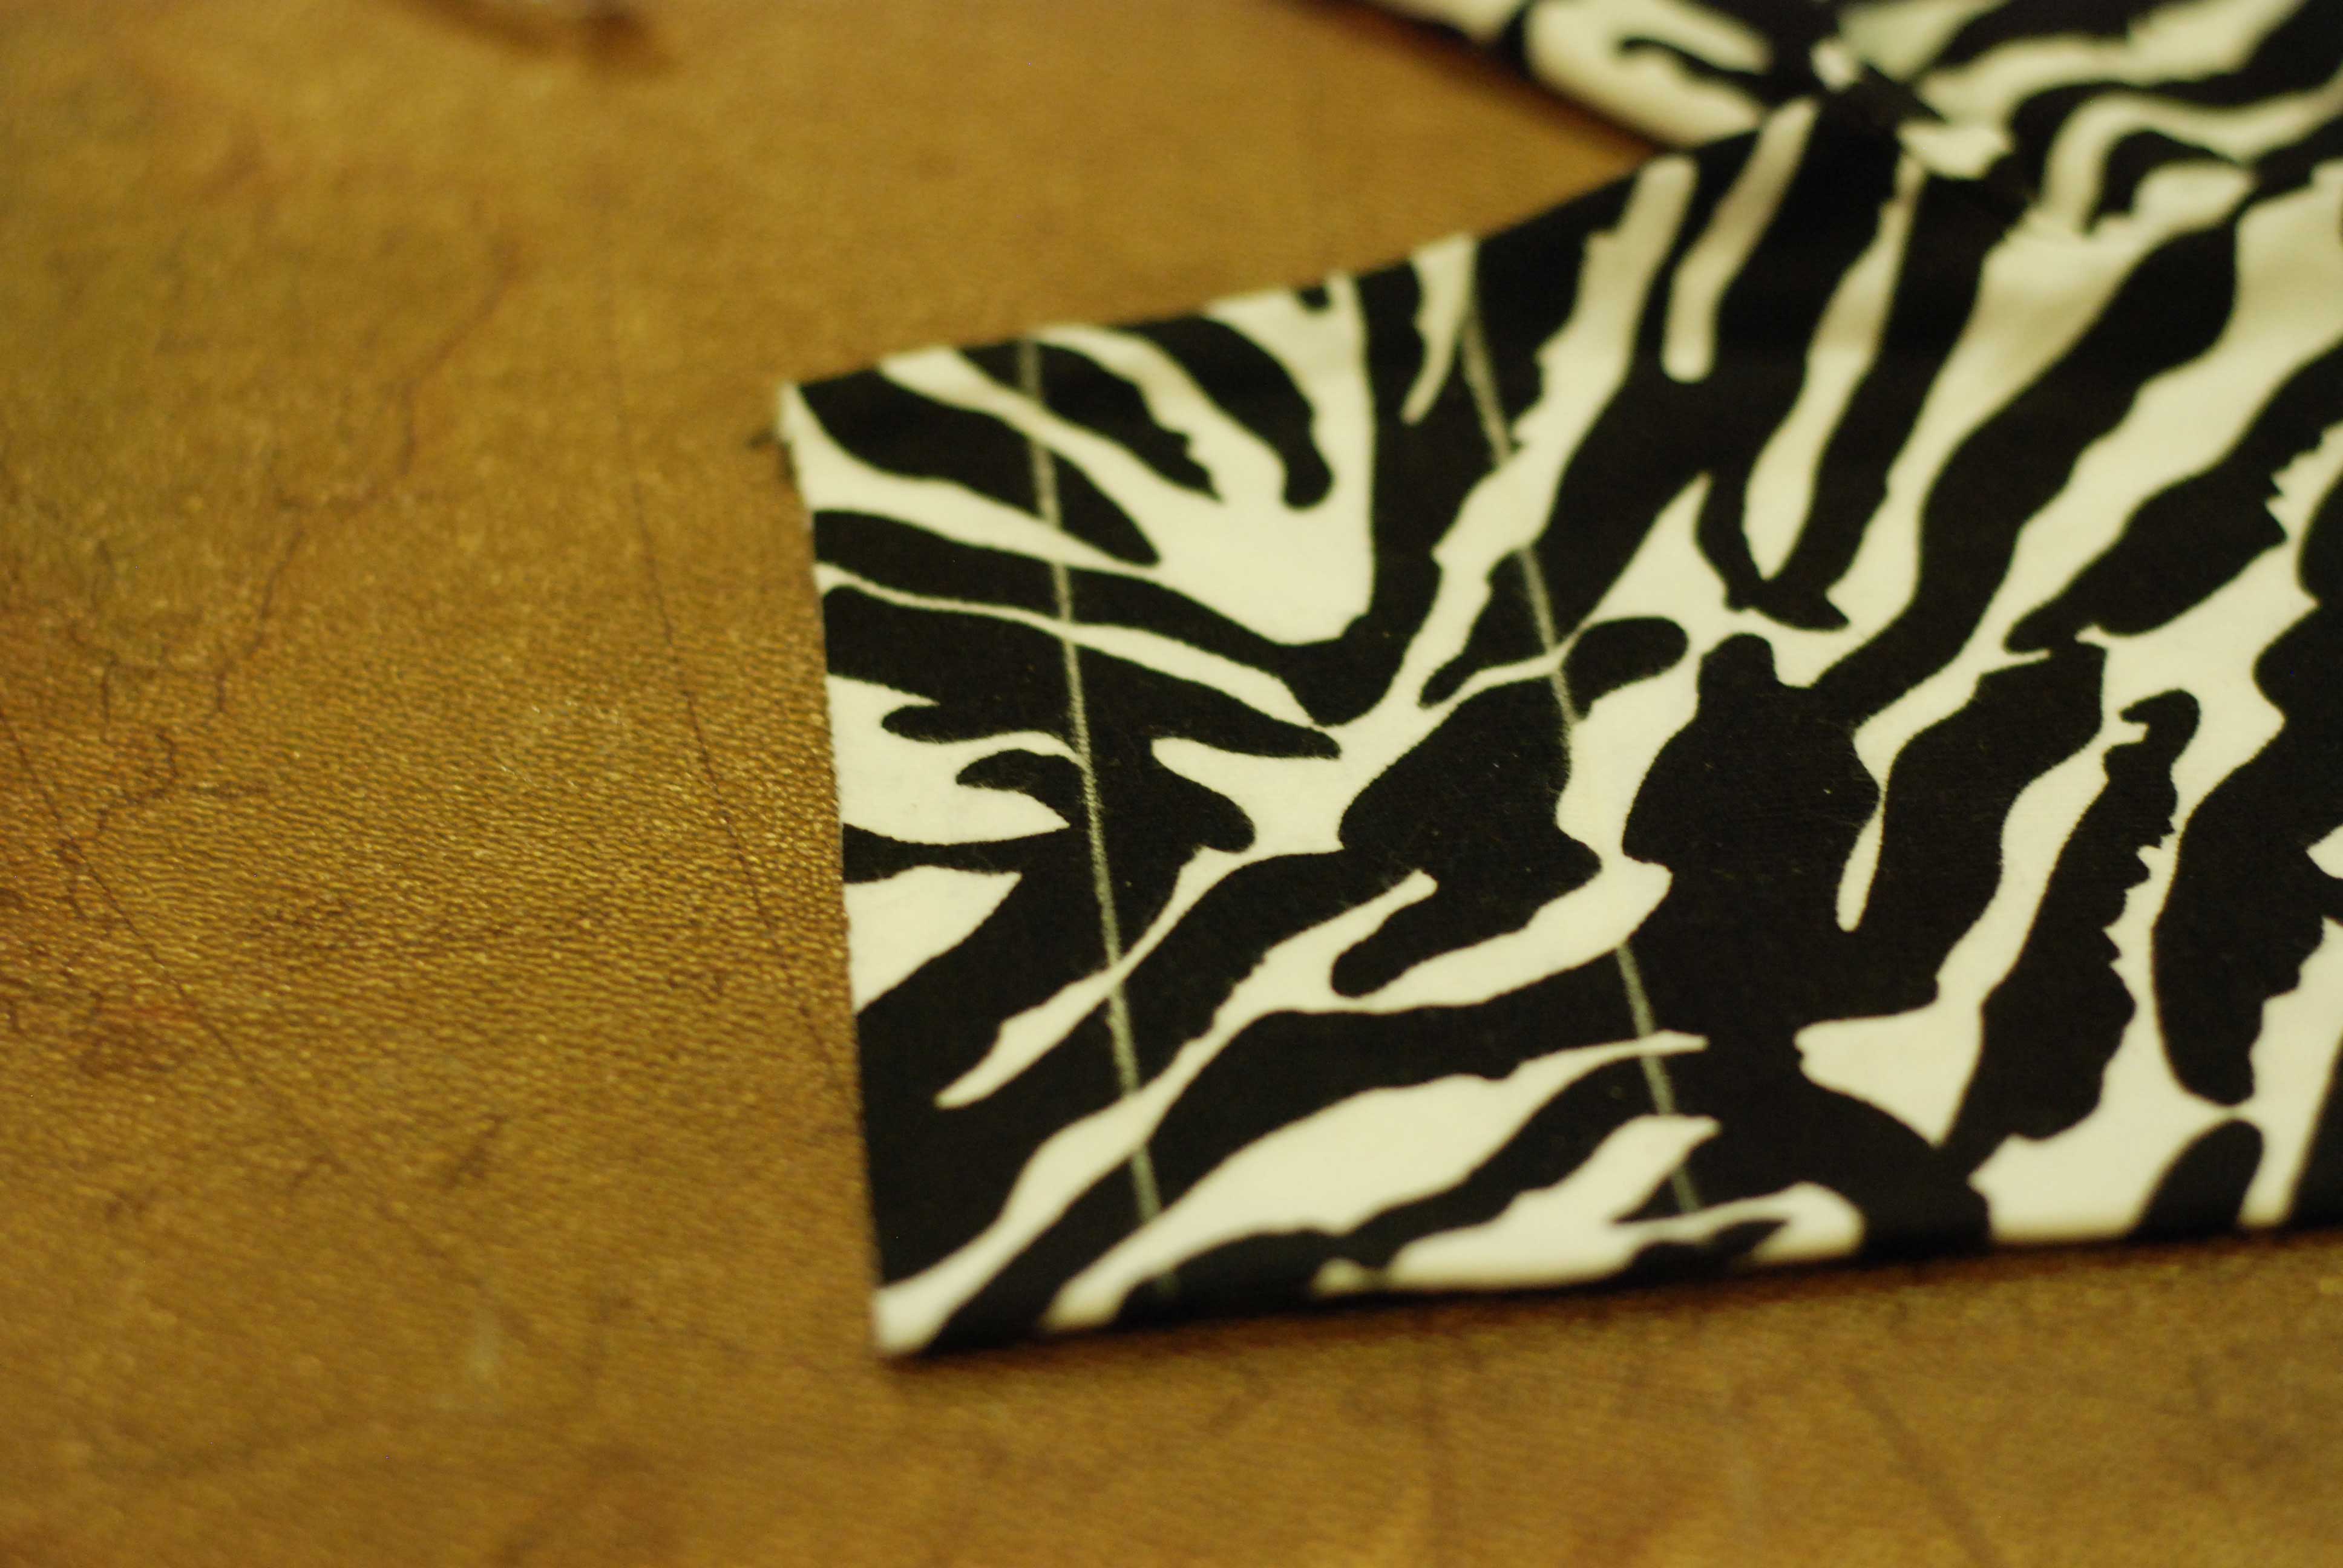
If using full length leggings in good condition/right size you will now cut your ruffle peices for the left over legs. Out of each leg you will lay them nice & flat & cut off the hem as close as possible to leave as long or strips as possible. Then you will mark out 2 strips the full length of the leg X 1.5″. After you cut them out you will be left with 4 strips from each leg, 8 strips total. I RECOMMEND USING A ROTATORY CUTTER FOR THIS IF POSSIBLE. It will leave a nicer finished edge. You can also finish the edges with a rolled hem on the serger if you would like, but it’s not needed. It will look like this when cut, as you can see there is very little scrap.
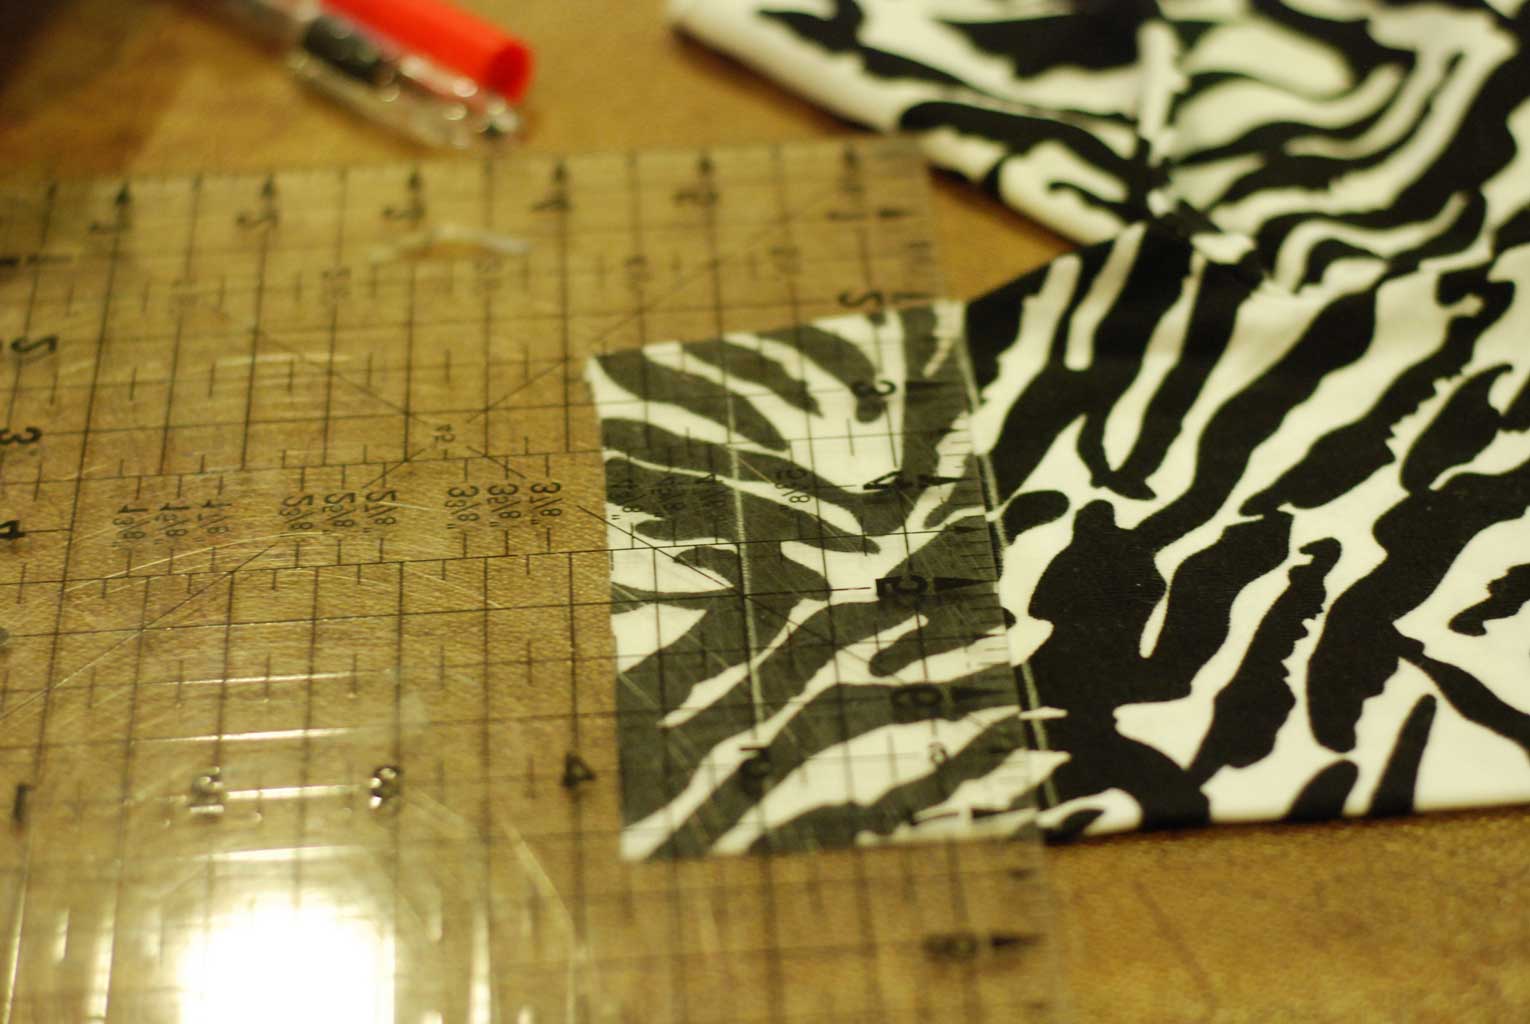
If you are using a coordinating knit you need to measure the edge of your leg when flat. You will take this measurement & X2… so if flat it is 4″ then your leg circumference is 8″. You will then cut out 8 strips that are that measurement X 1.5″ wide… so in this case mine would be 8″X1.5″
STEP 3:
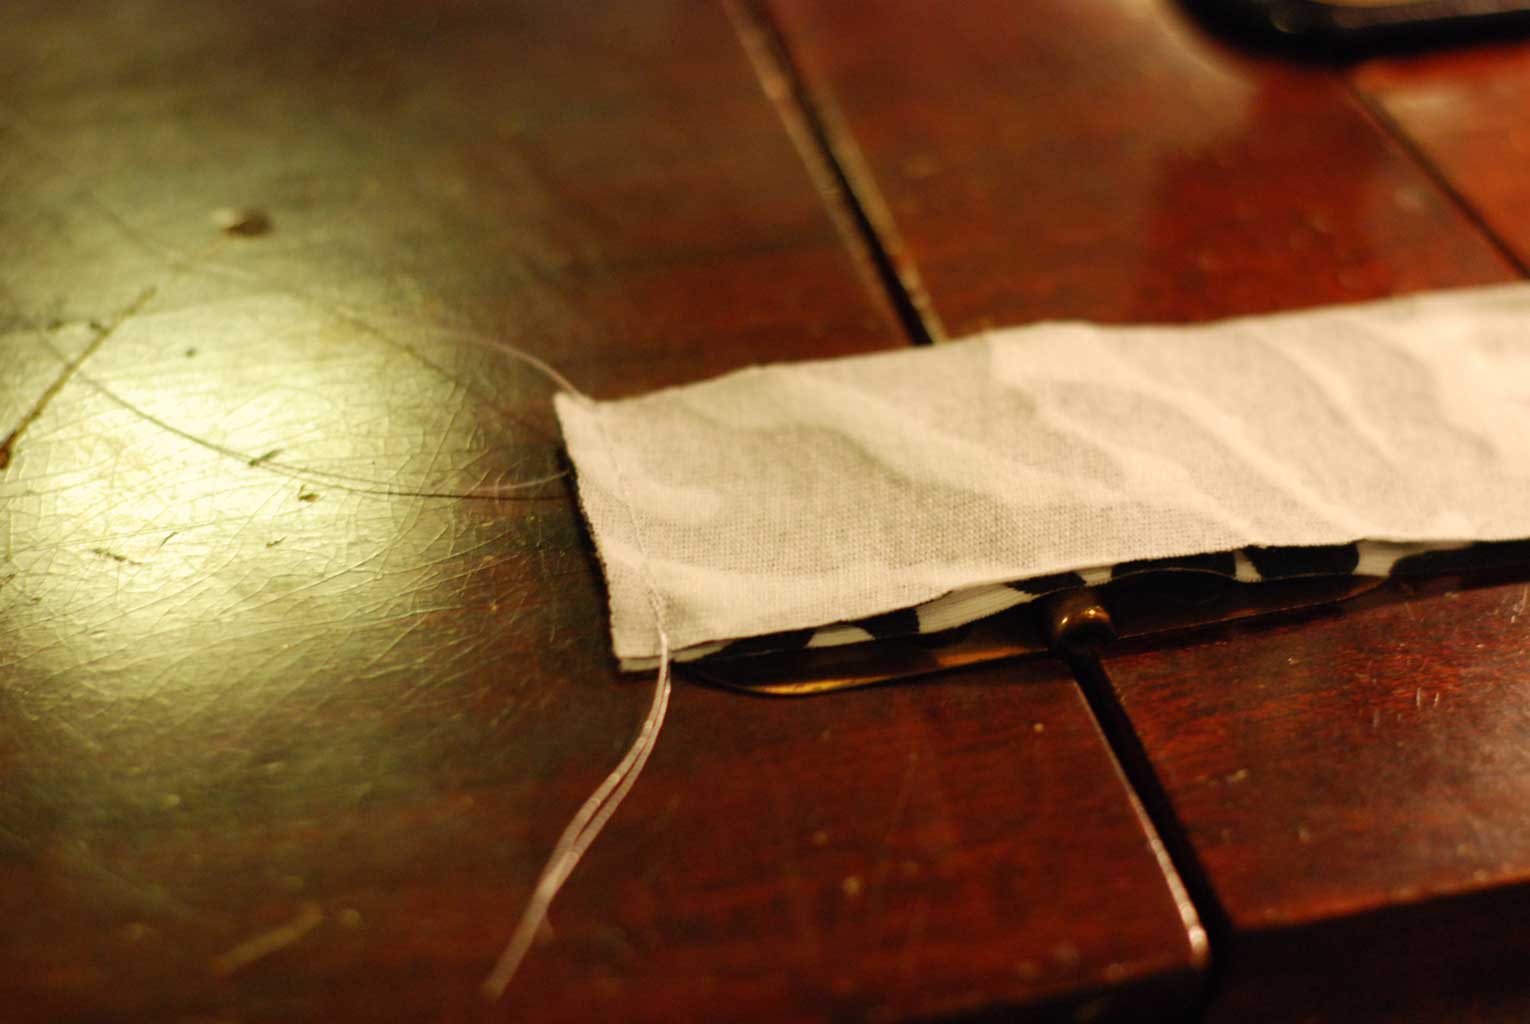
You are now going to take your strips & place 2 of them right sides together so the wrong sides are facing you… then using a 1/4″ seam allowance sew each skinny end making sure to backstitch. This will turn your strips into narrow tubes that will become the ruffles.
STEP 5:
Time to gather your ruffles! This can be 2 different ways you can use elastic thread to gather them or you can use a traditional gathering stitch. I prefer the elastic thread but not all machines like it so I will give directions for both.
GATHERING STITCH
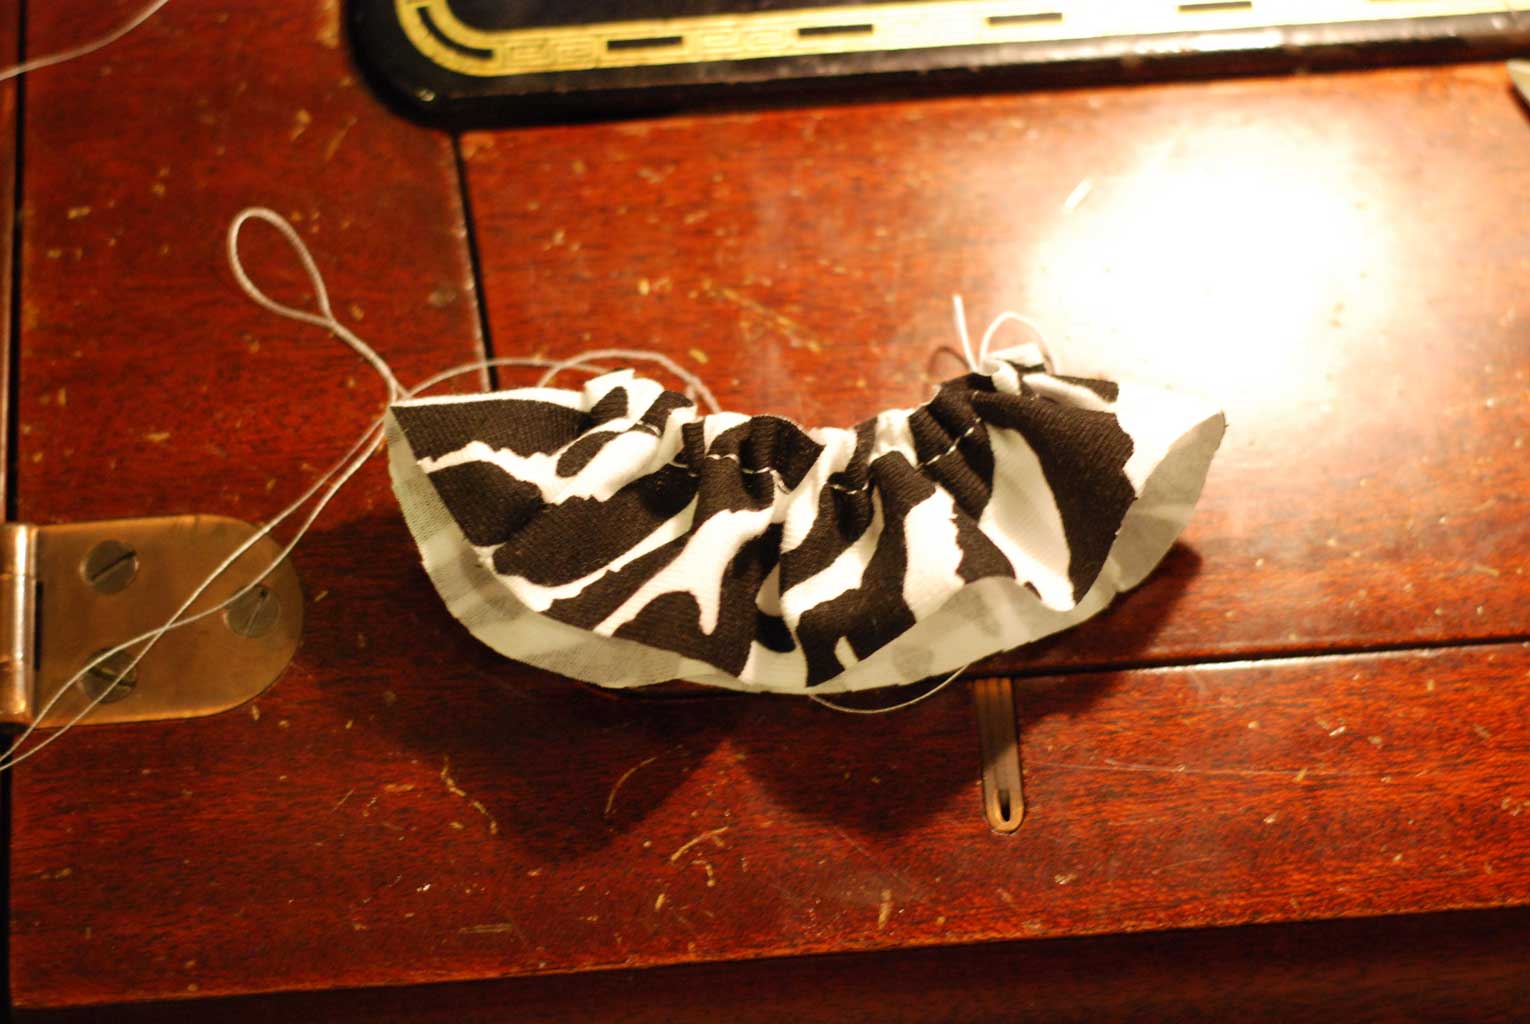
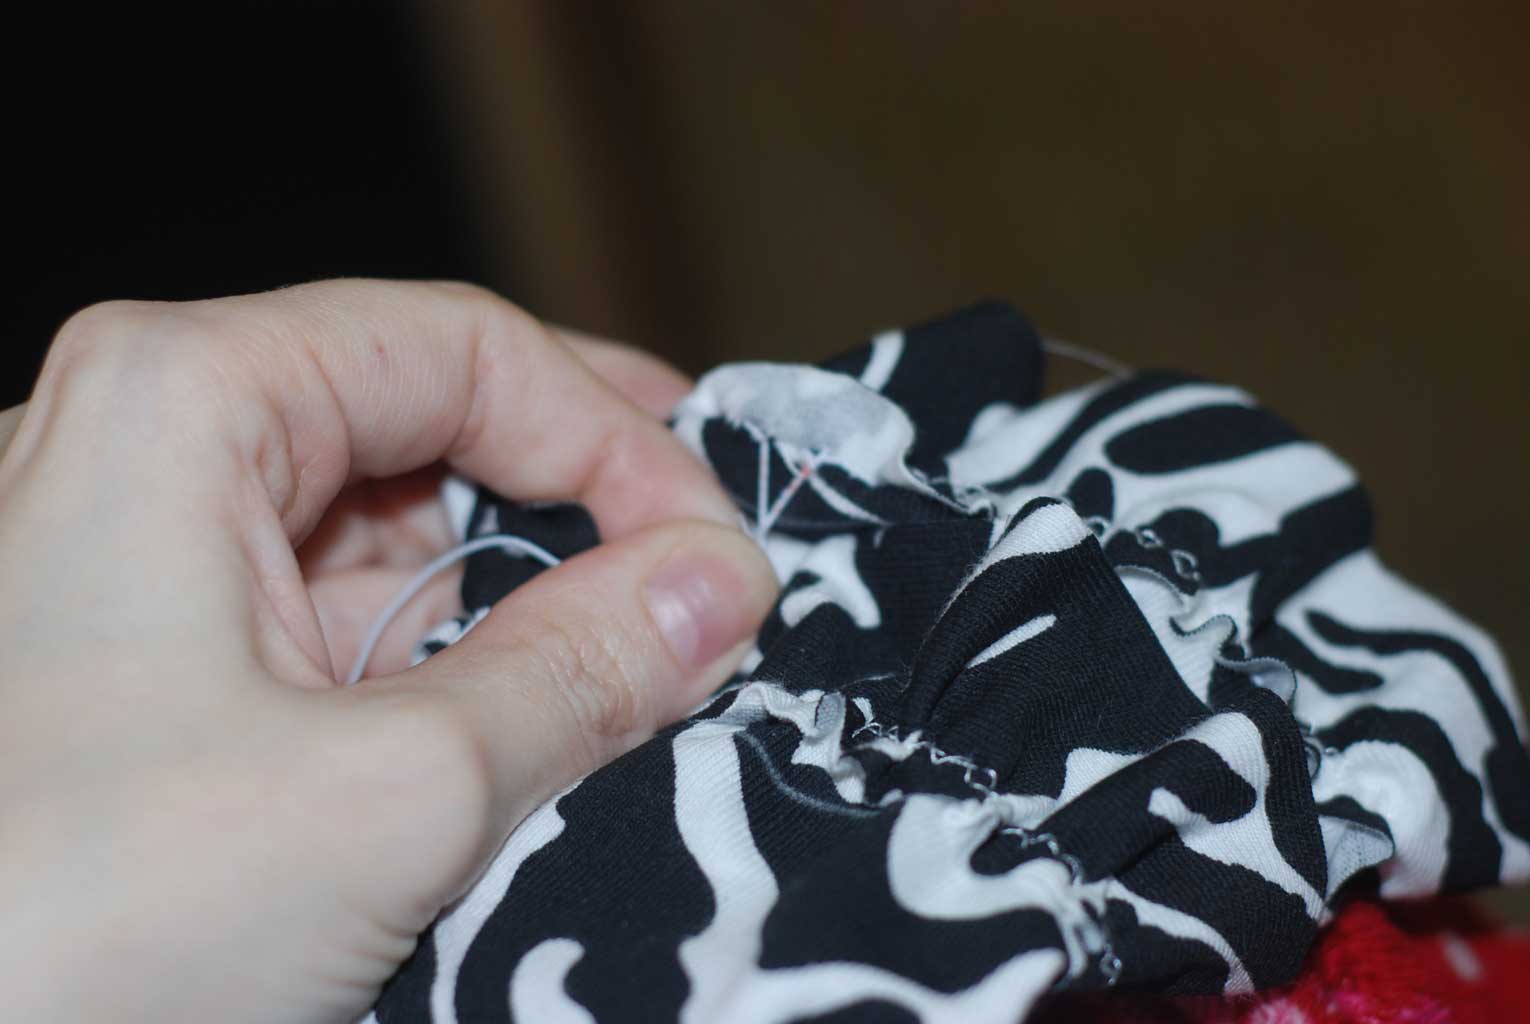
To use the gathering stitch method you your longest basting stitch to sew a seam 3/8″ from the top edge of your ruffle all the way around. Do NOT back stitch or over lap. Now pull the bobbin thread gently to slowly gather your fabric, use your fingers to move them around & continue until it is the same size as the leg. If you haven’t done this before you can find helpful videos on you tube.
GATHERING WITH ELASTIC THREAD
This doesn’t work well on all machines, especially newer ones with auto lower tension or Brothers. If you have a brother or other newer machine there is some great info here, but it also has detailed pictures of how to shir/gather with elastic thread if you haven’t before Shirring Hacked.
Gather all 4 of your ruffle tubes & set aside.
STEP 6:
Marking the shorts! You have 2 options, you can have your ruffles almost touch each other or over lapping. To have them just almost touching you will want to use a ruler & marker to mark one line 3/4″ from the edge & another 1.5″ above that. If you want them to over lap you will mark the 1st line 3/4″ from the edge & the next 1″ above that. You will do this on the front & back of both legs, it will allow you to pin the ruffles on nice & straight!
STEP 7:
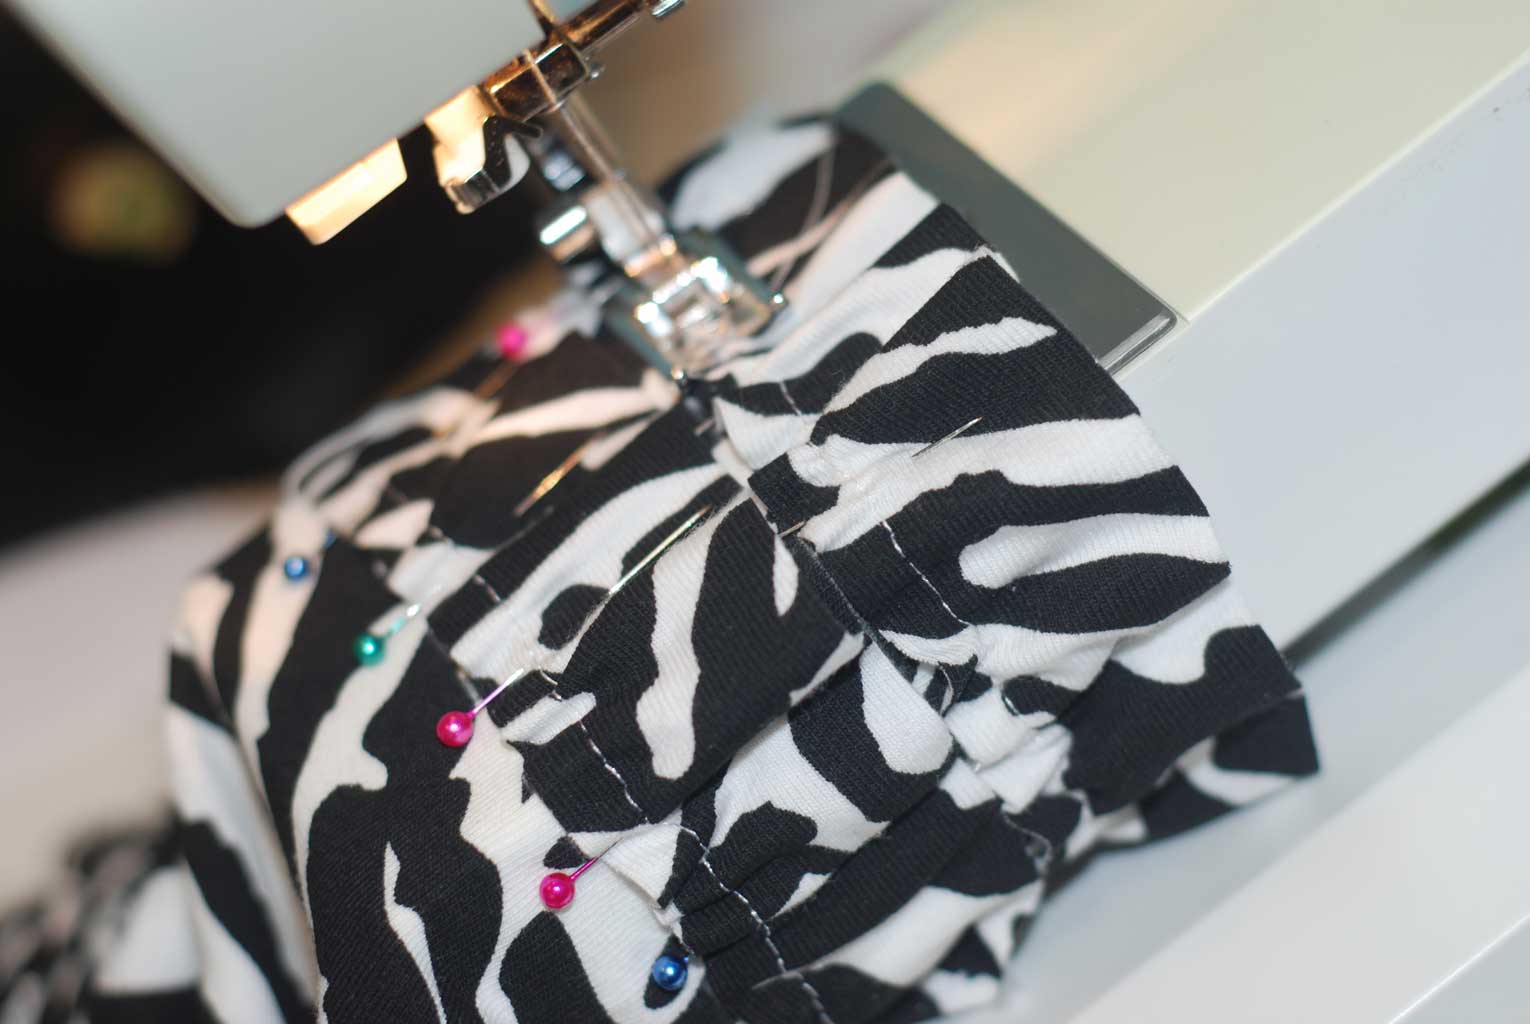
Now is the more time consuming part… pinning the ruffles on to the leggings! Start by sliding the ruffle over the leg with the seams matching up with the inseam & crease from the outseam… then making sure the top edge of the ruffle lines up with the chalk line pin in place. Repeat with all 4 lines. Taking the time here to make sure the gathers are spread out evenly will make a world of difference on the finished product!!!
STEP 8:
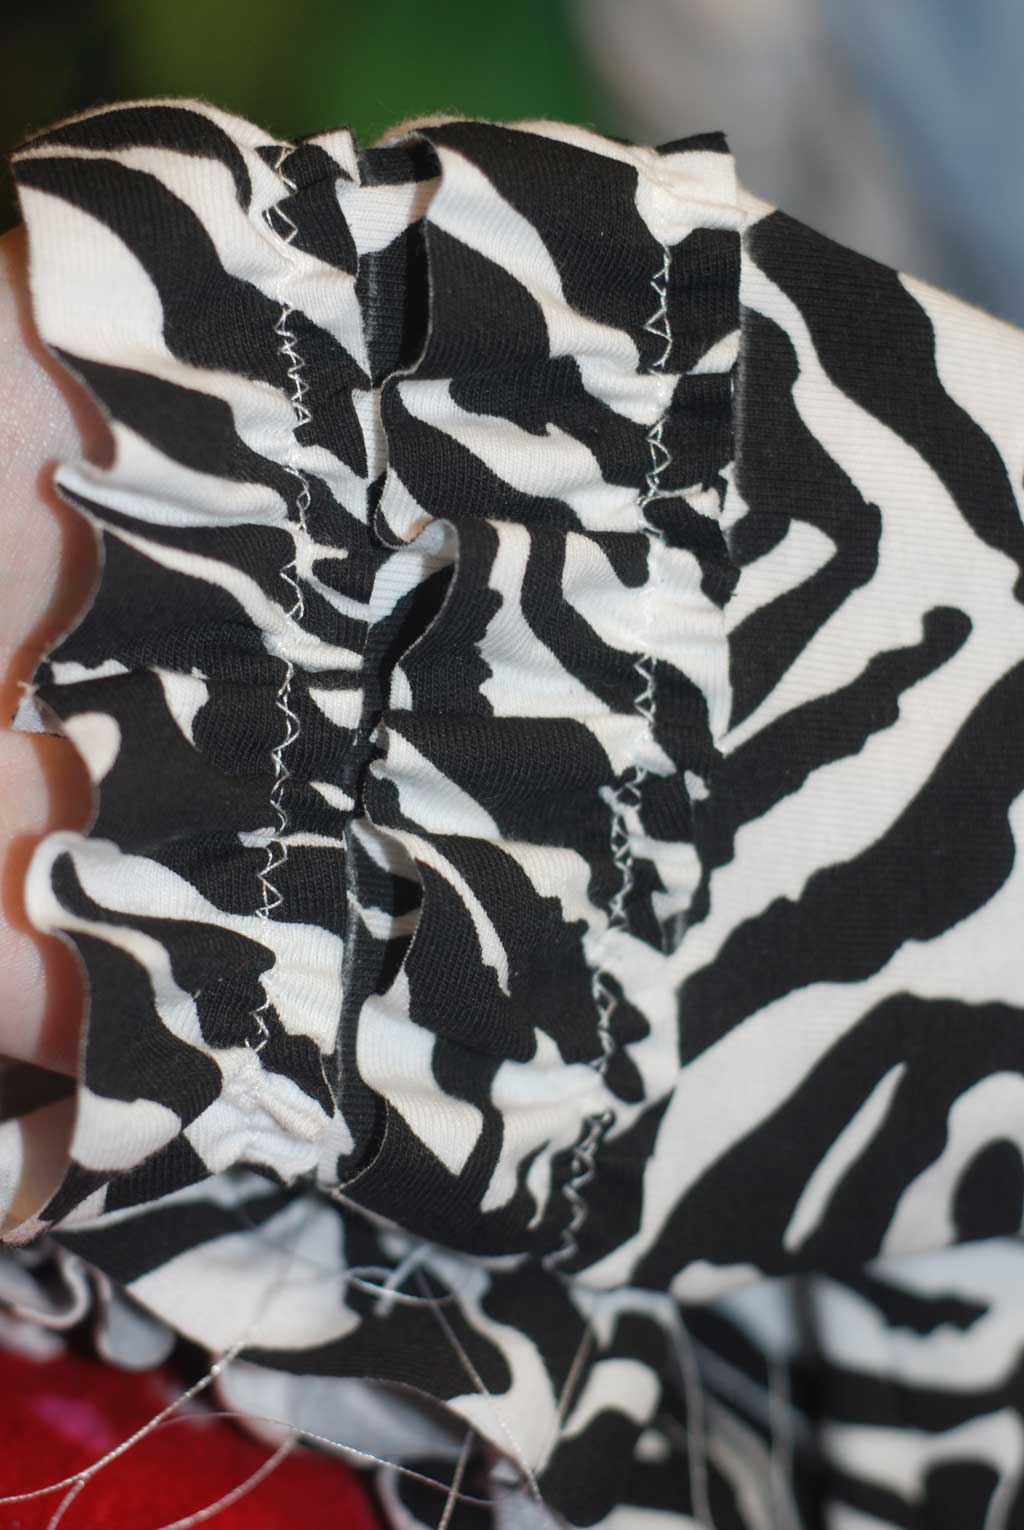
Using a medium width zig zag stitch at your longest length & keeping the gathering seam in the middle of your pressure foot now sew on your ruffles. This works best with a free arm if your machine has that option. Make sure not to over stretch the fabric but to keep it flat & slightly taught. Maker sure to over lap your stitching as well as backstitch when you stop & start.
STEP 9:
Once all your ruffles are attached you are almost done! Trim all of your top threads like normal. If you used the elastic thread to gather you will want to pull it tight & trim as close to the seam as possible. With a a few washes this will relax back into the seam. You may find the first few times you wash it appears to regather, just gently put your hand inside the leg & stretch. After a few wears/washes it should no longer be an issue.
If you used the traditional gathering stitch this is where the seam ripper comes in!!! VERY CAREFULLY at about ever 1/4 of the ruffle you want to break just one gathering stitch with your seam ripper being very careful NOT to break the zig zag stitch that attaches it. The reason for this is leggings are knit & stretchy gathering stitches are NOT. By carefully breaking it in a few places this allows the gathering stitch to relax as it is no longer needed. The technical way is to attach it below the gathering stitch & remove all the gathering stitch, but honestly it’s not needed as long as you break it in a few places on each row of ruffles & gently stretch the leg with your hand. Again after a few washes it should be relaxed & no longer an issue!
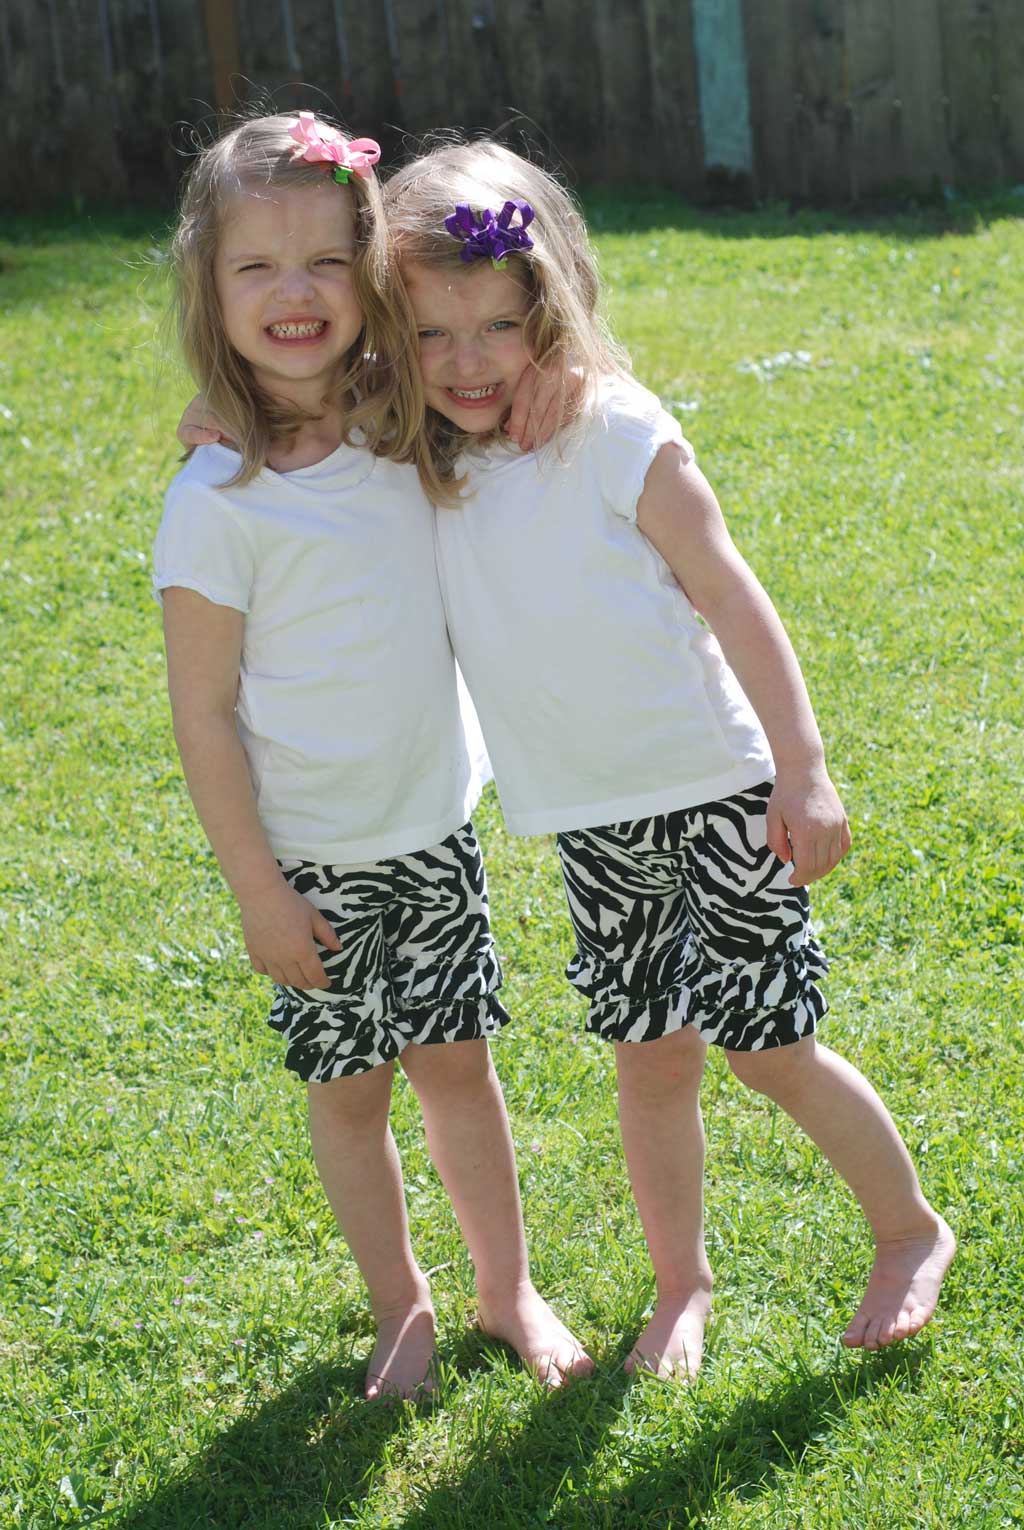
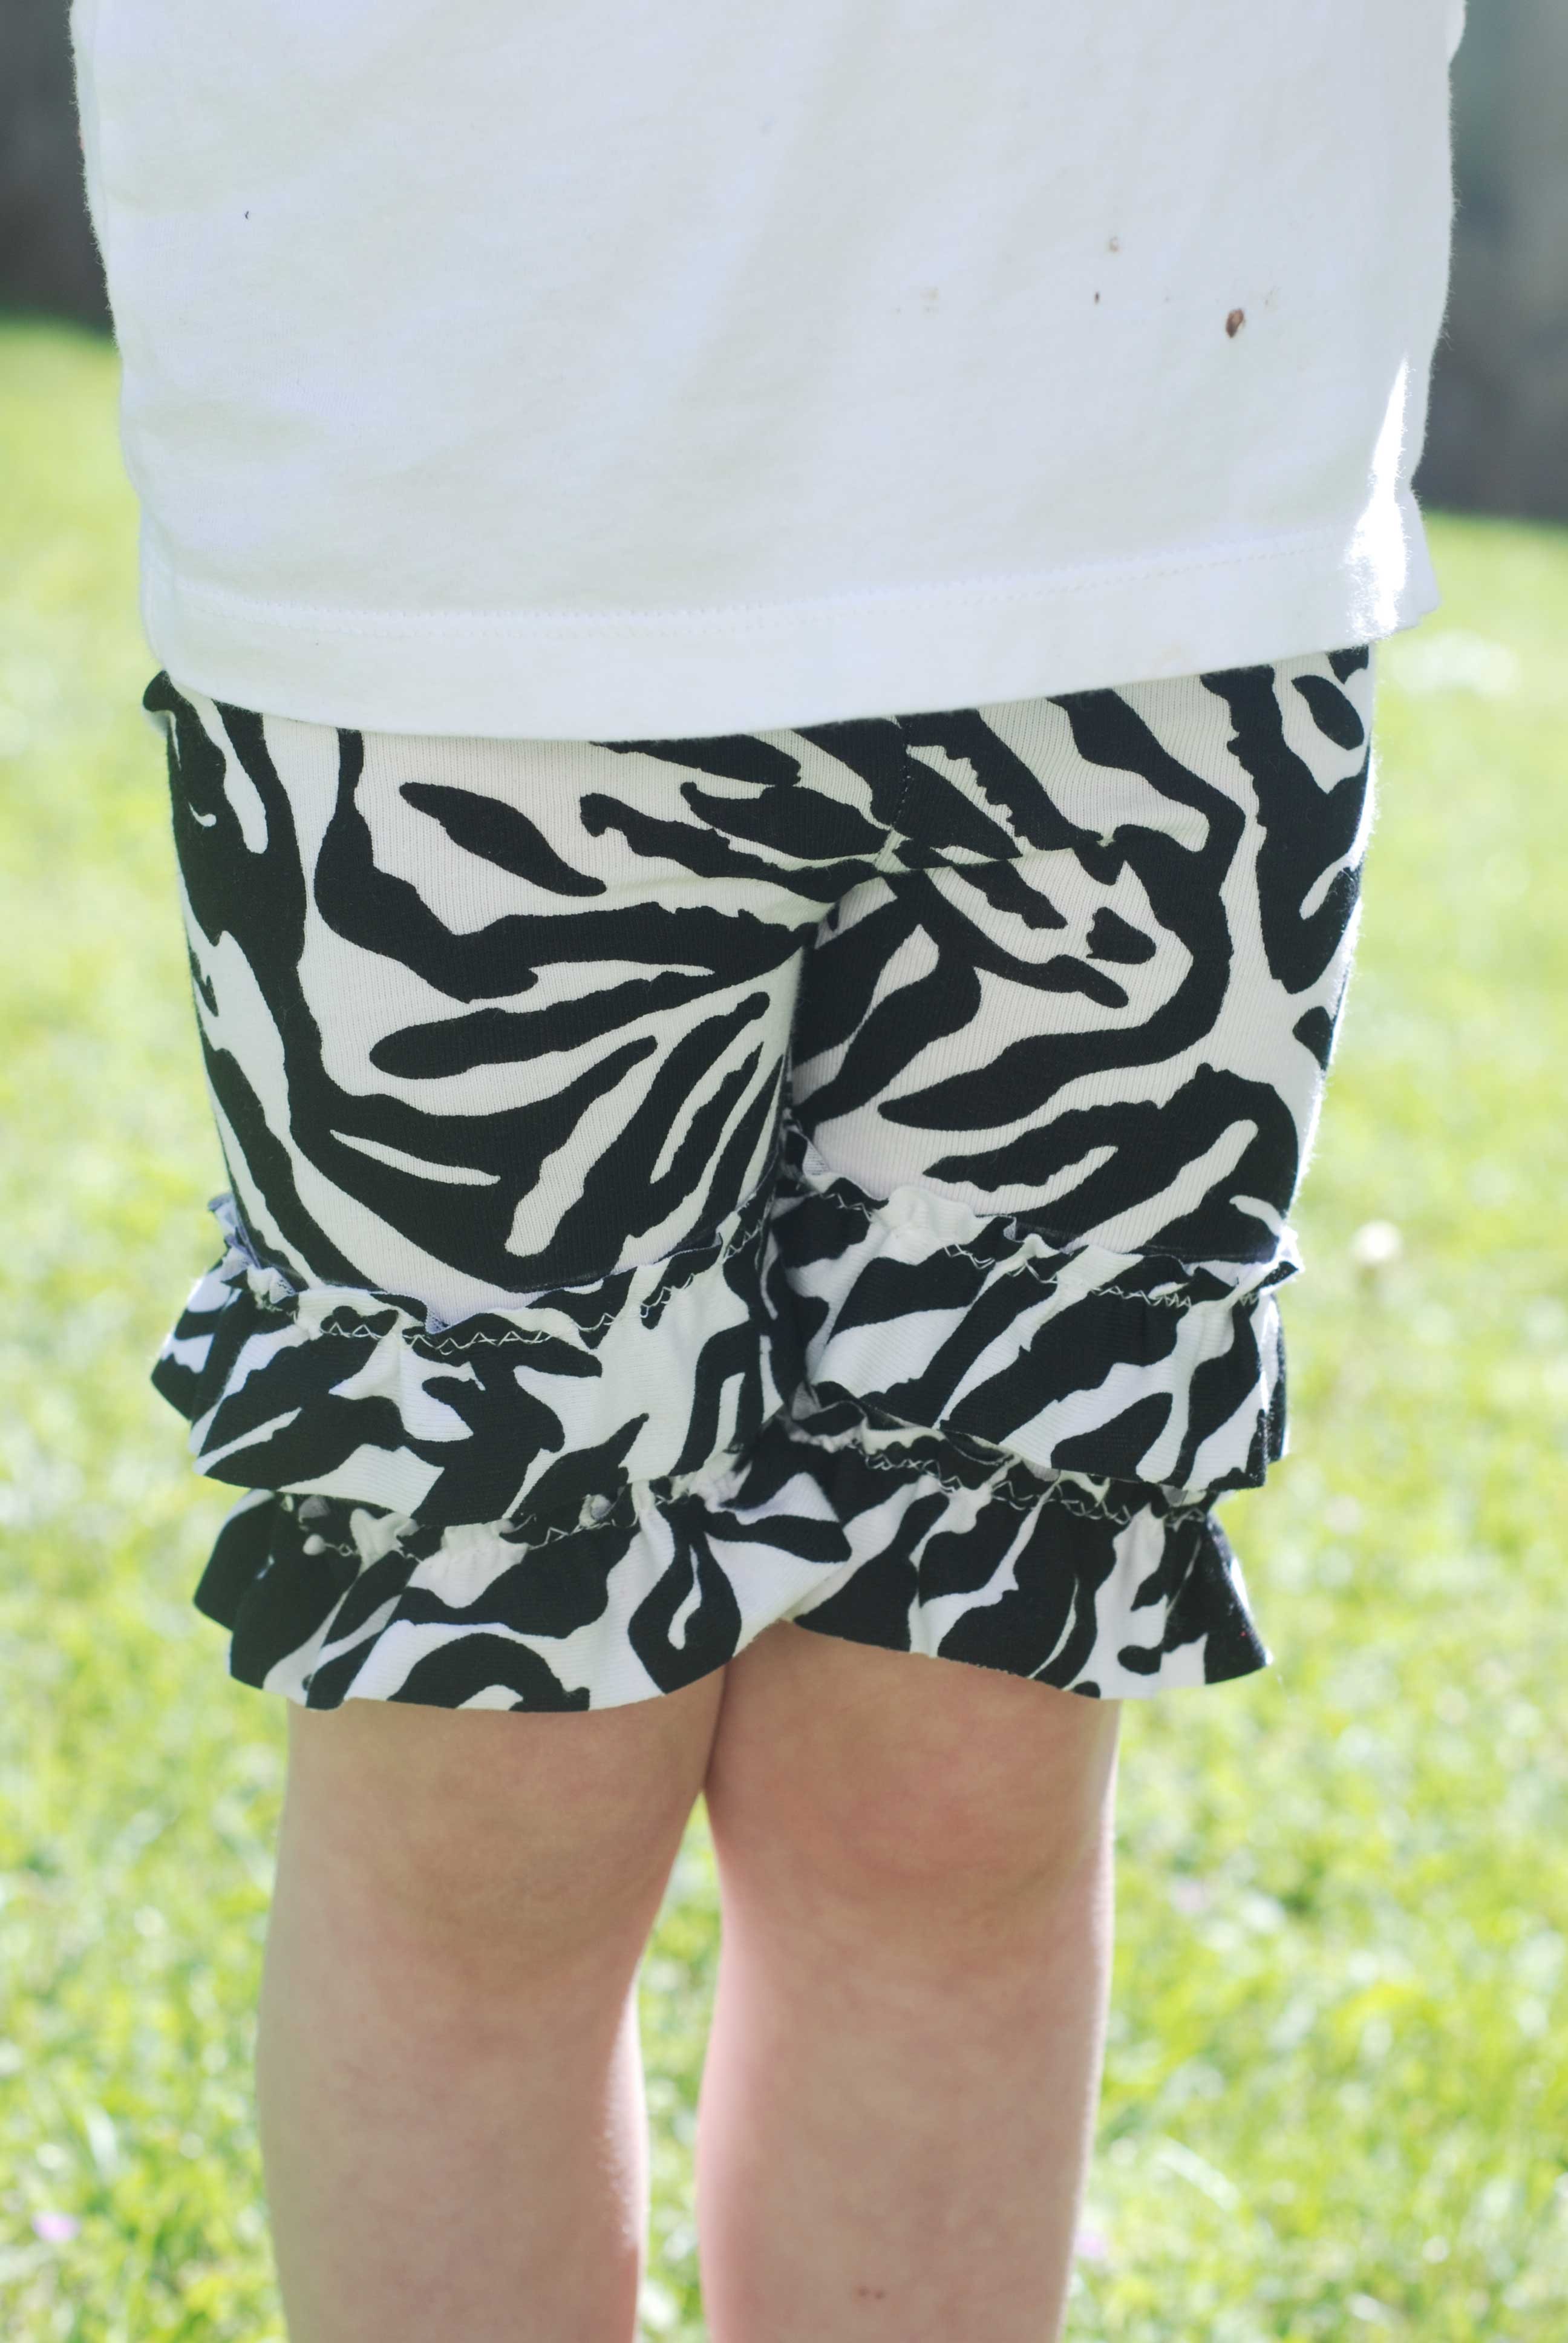
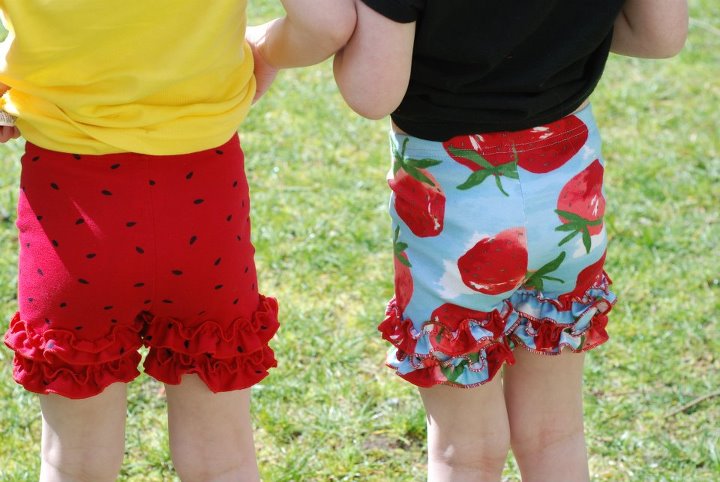
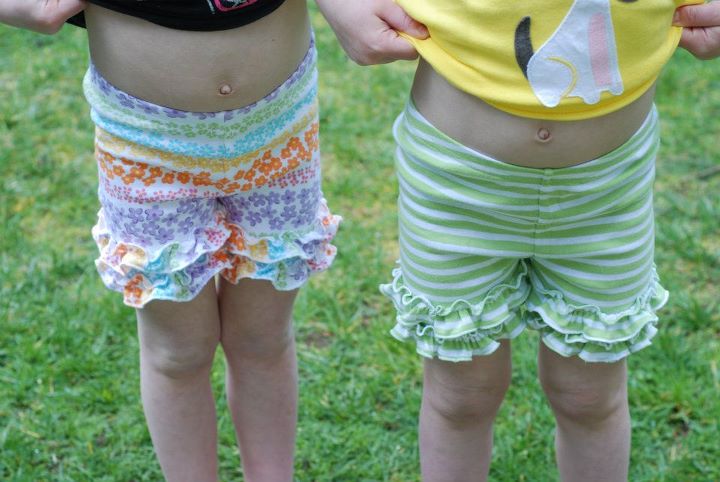
Just wash to remove the marks & you are DONE!!!! If your leggings are too short to start & you use them for the ruffles they won’t be quite as full like this zebra ones, you will notice the other ones have fuller ruffles :).
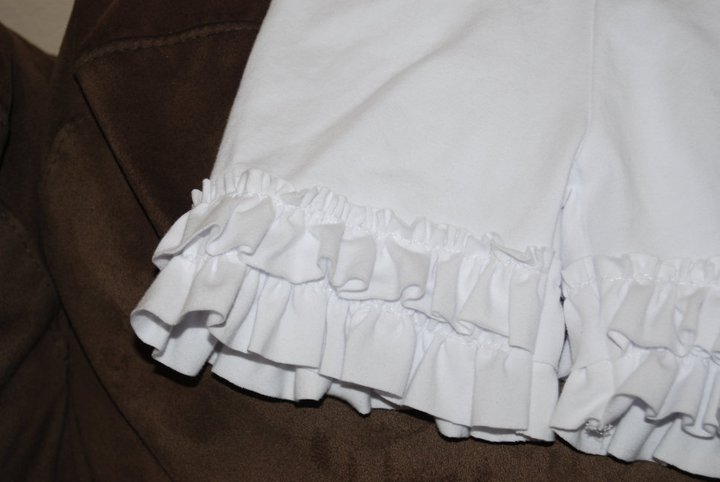
This is what it looks like with overlapping ruffles & coordinating solids with a raw edge…
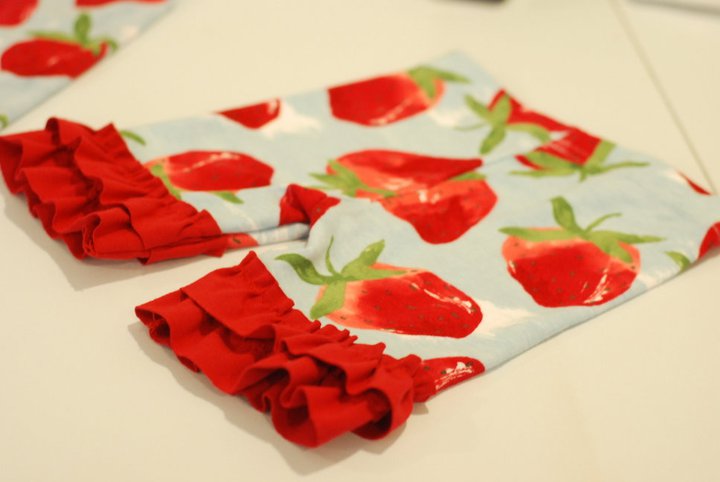
And some others I had done with leggings that are the right length to start 🙂 These are almost touching ruffles with a rolled hem.




7 Responses
easygoingorganizer
Great idea! So clever!
Kymy
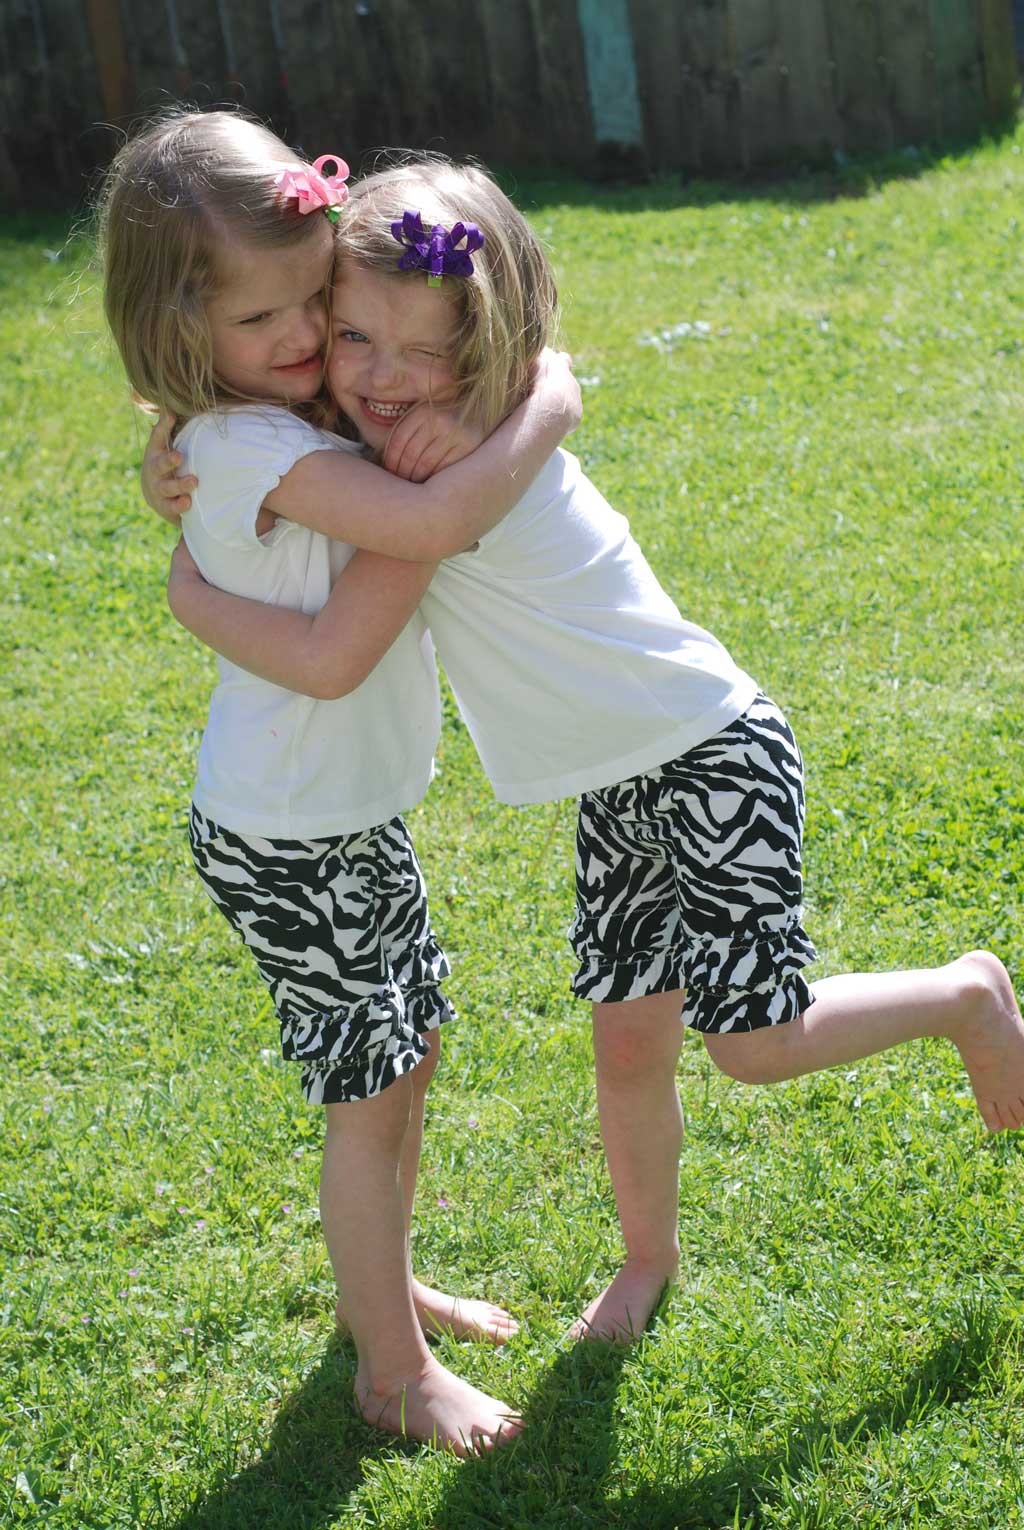
I have to admit making them out of the leggings originally was not my idea… I had made then with a regular knit shorts pattern I created & then I had a mom ask me to recreate legging ones she had seen someone else make. That being said they are cute & comfy, my twins love them!
Kristy
These are too cute! I know what my Grandbaby will be wearing all summer!
Thanks for the instructions.
Shelly
Oh, my, goodness!! These are gorgeous!! Wish I looked that cute in them! Thanks for sharing your wonderful idea & explaining it so well. 🙂
simplesimonandco
These are darling!!!
Felicia
Thanks so much for the tutorial.
Max
Such a cute idea!