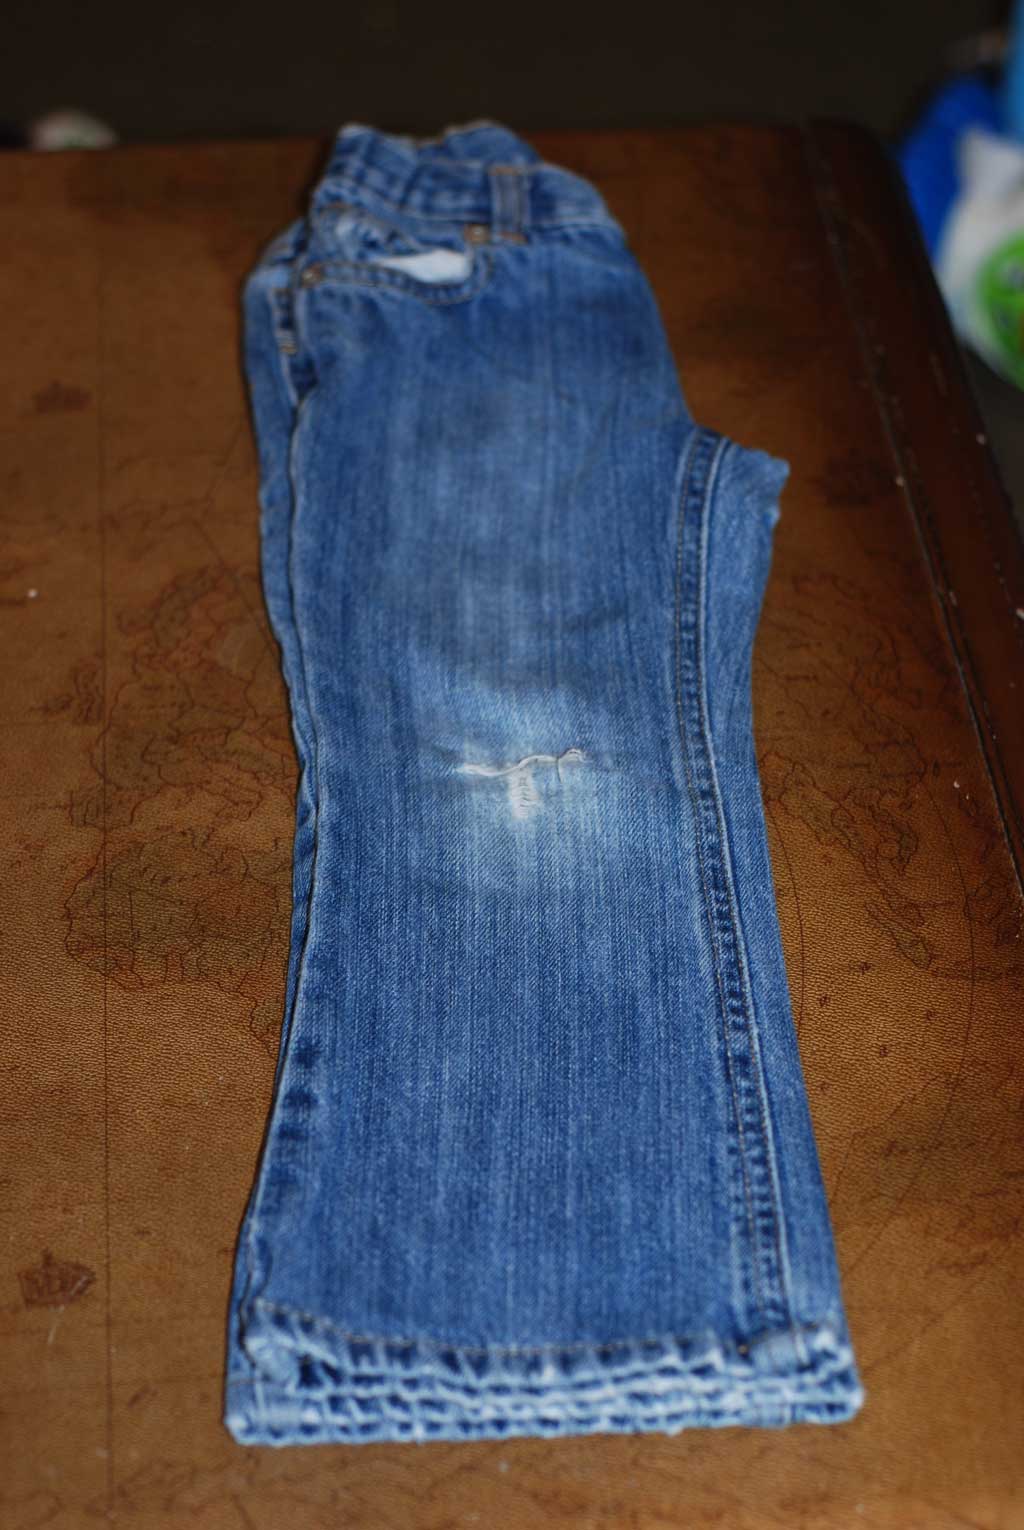
So if you saw my most recent post Quick & Easy Cut Off Shorts with Tutorial! then you may just be ready for this one :). At step 2 I mentioned to save the leg peices you cut off & this is why! Kids pants & slim legged womens pants will make a childs apron, mens wide legged pants can make an adult sized one. Flared and boot cut jeans make for a cute girls apron.
Upcycled Jean Half Apron
SUPPLIES:
1 cut off pant leg (remember size of pant leg determines size of apron)
Double fold bias tape (regular width, 36″ for smaller kids, 56″ for bigger kids & adults)
Scissors
Thread that matches the hem of the jeans
Sewing machine
STEP 1:
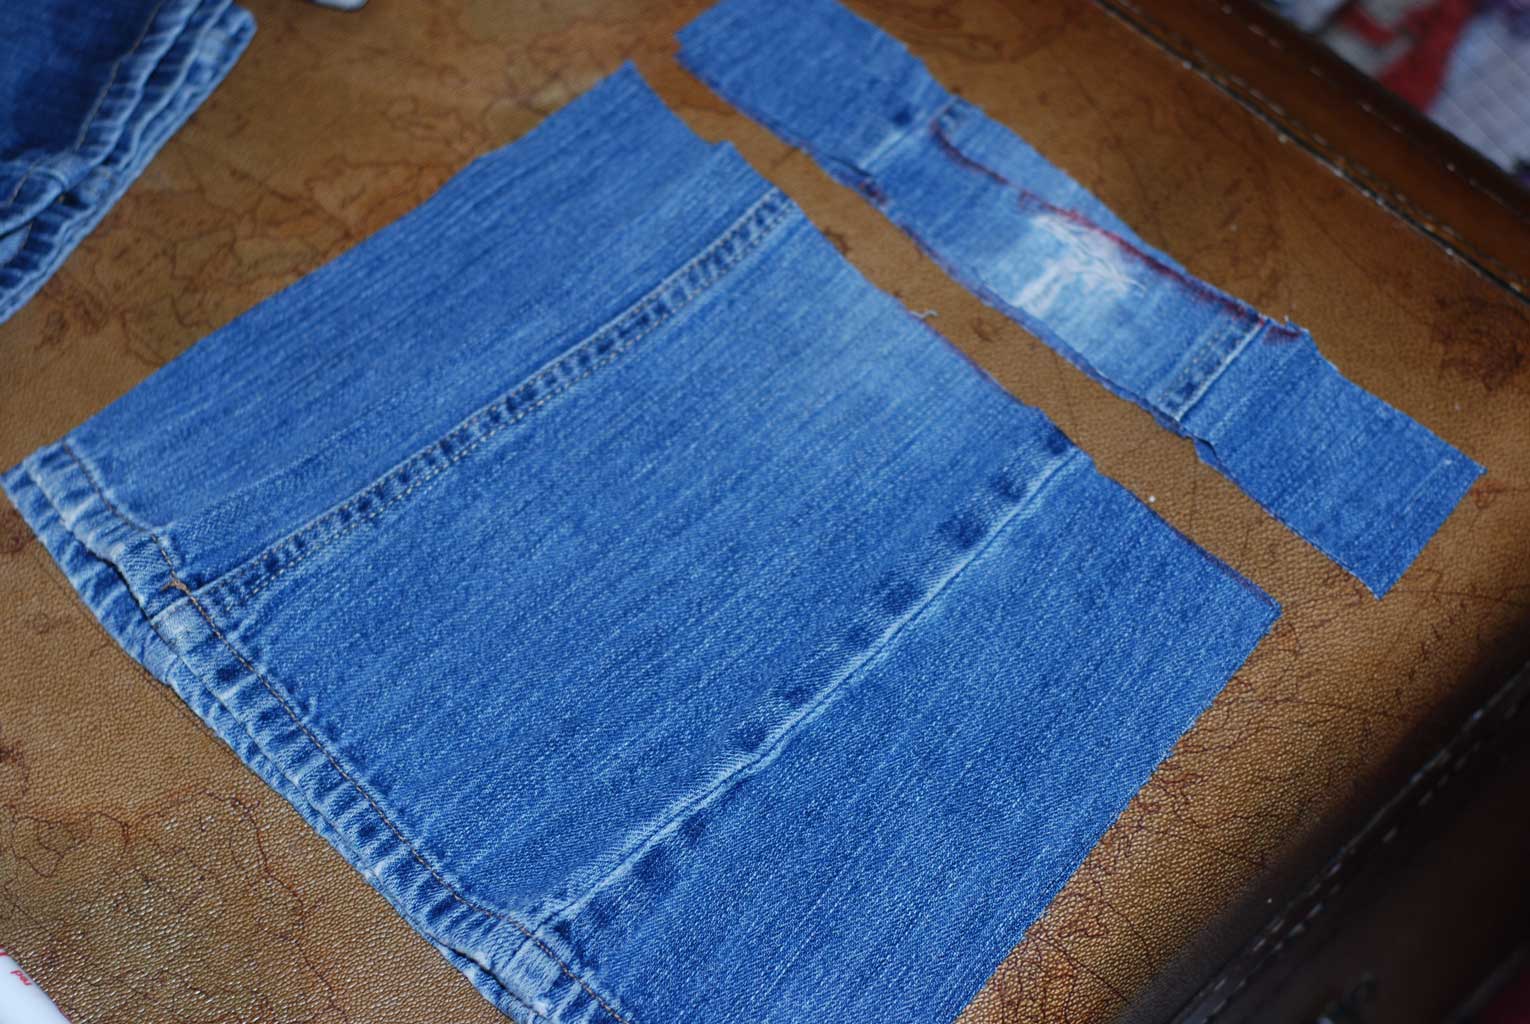
Straighten cut down the back center of the pant leg & open it up flat… then cut off the top if needed… in this case I had a whole in the knee so I needed to remove the top 1.5″. You may also find that it’s not straight or longer then you would like… you can straighten it out with a ruler to your desired length. You will find most jeans 3t & smaller will make quite a short apron. I think this one is about 8.5″ long and is modeled on my 4 year old that is in a size 4/5 for height.
STEP 2:
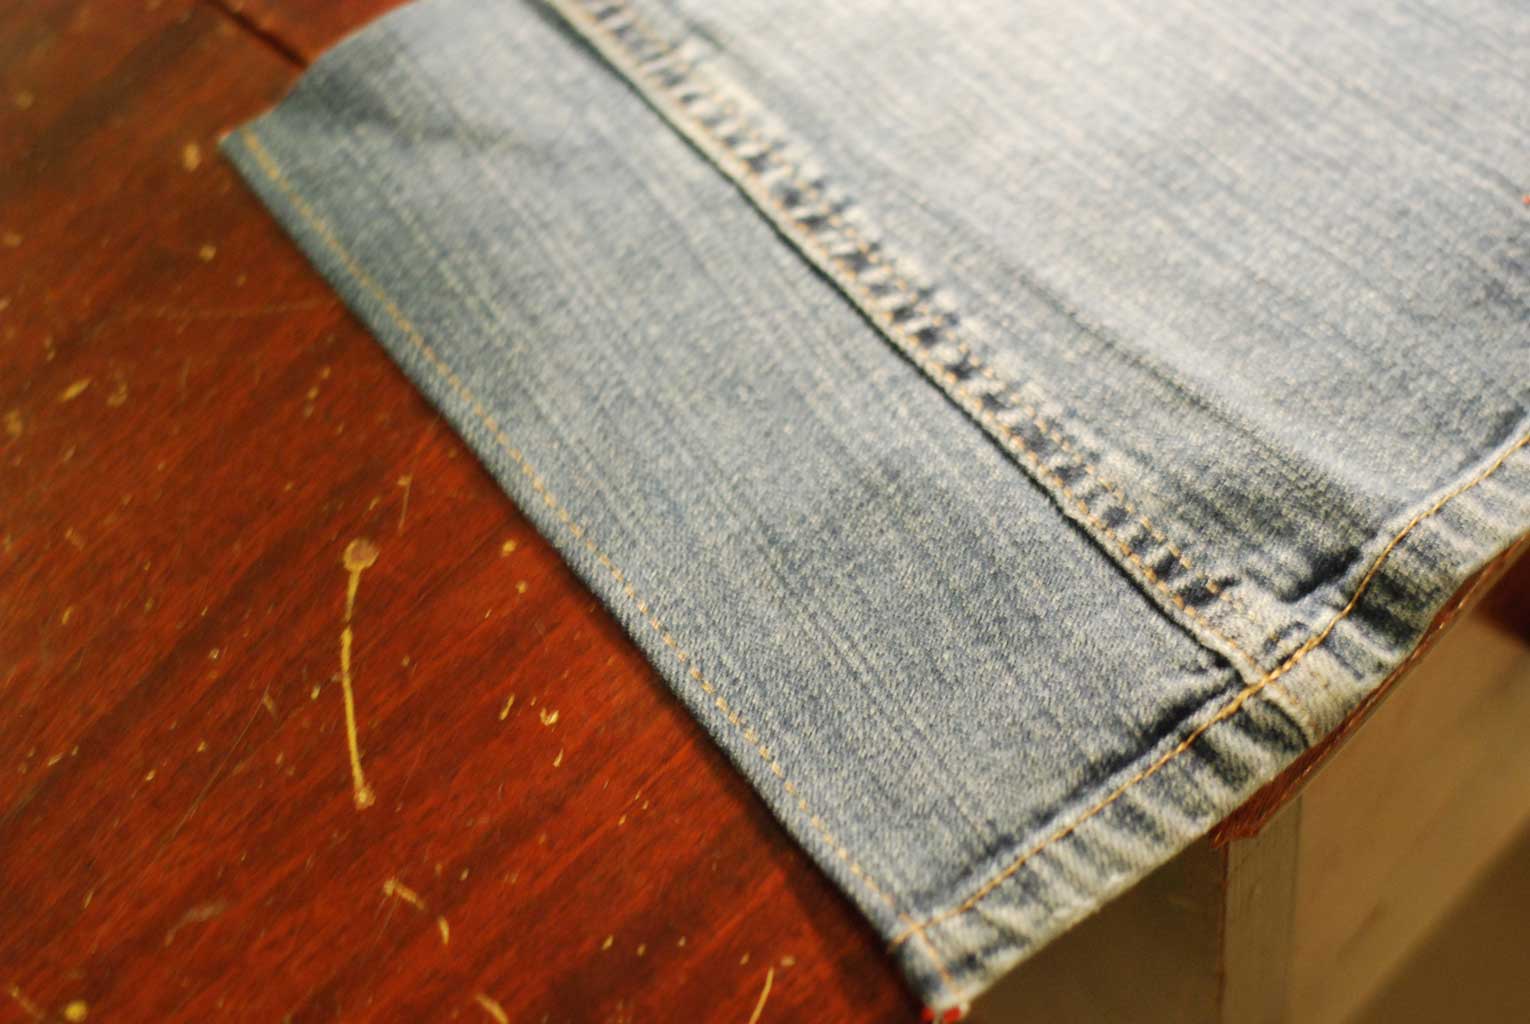
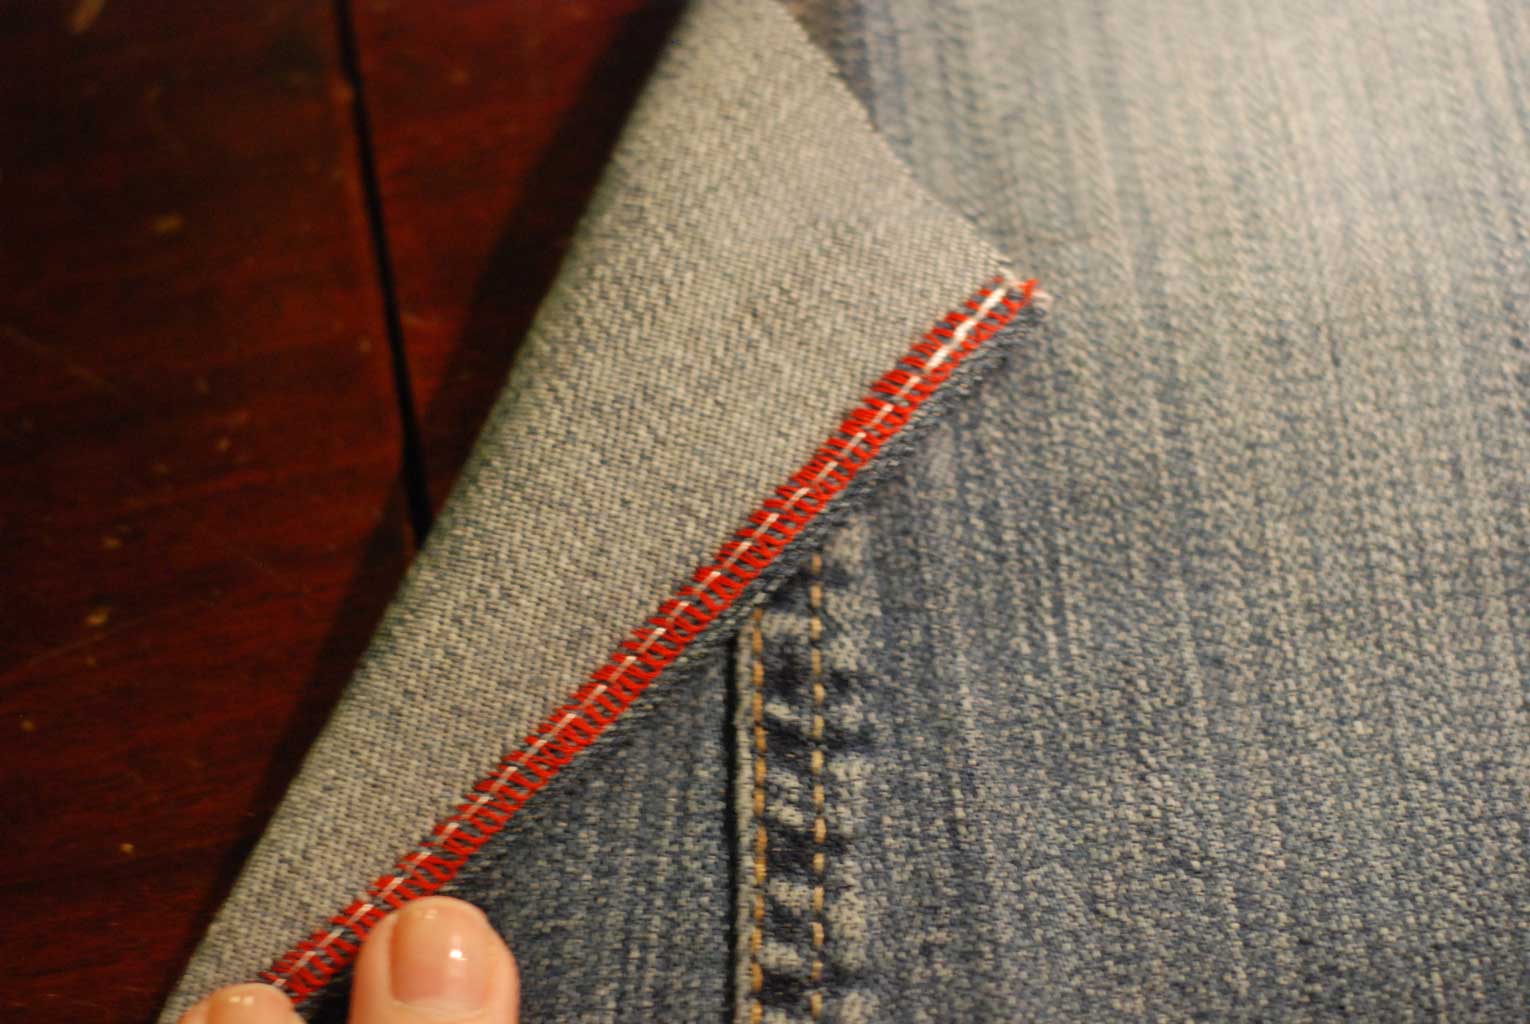
Using your serger or a narrow zig zag on your regular sewing machine finish the the raw edges on both sides leaving the original hem alone as well as the top (it will be cover by the bias tape).
STEP 3:
Fold the now finished edges under approx 3/8″ you may find it easier if you iron or you may just pin it in place. Once turned under top stitch down the sides with the thread that matches the hem 1/4″ from the edge. The reason for finishing it this way instead of with a proper hem (folded under one more time to hide the edge) is the hem is simply to thick, even sewing over it this way may be a challenge! Don’t forget to backstitch every time you start & stop.
STEP 4:
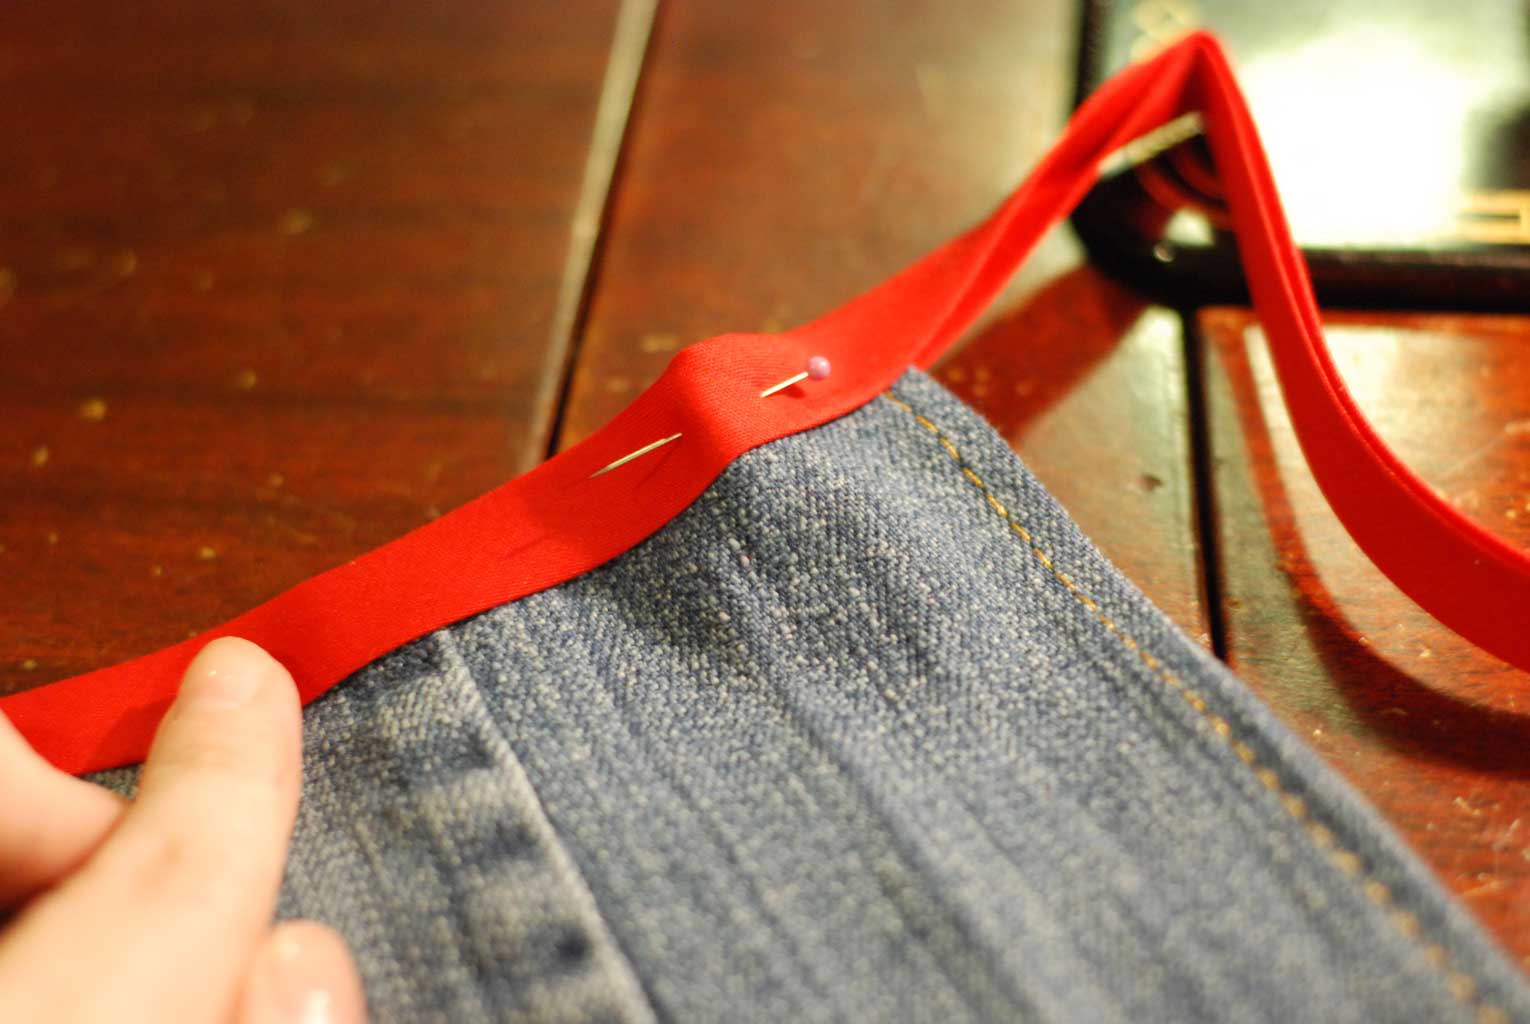
Mark the middle top edge of the apron & the middle of the bias tape. Place the apron into the center of the bias tape matching up those marks. This will leave the apron sandwiched between the double fold bias tape. Pin in place all along the edge of the apron.
NOTE: This is not the proper technical way to attach bias tape, but the most practical for this application.
STEP 5:
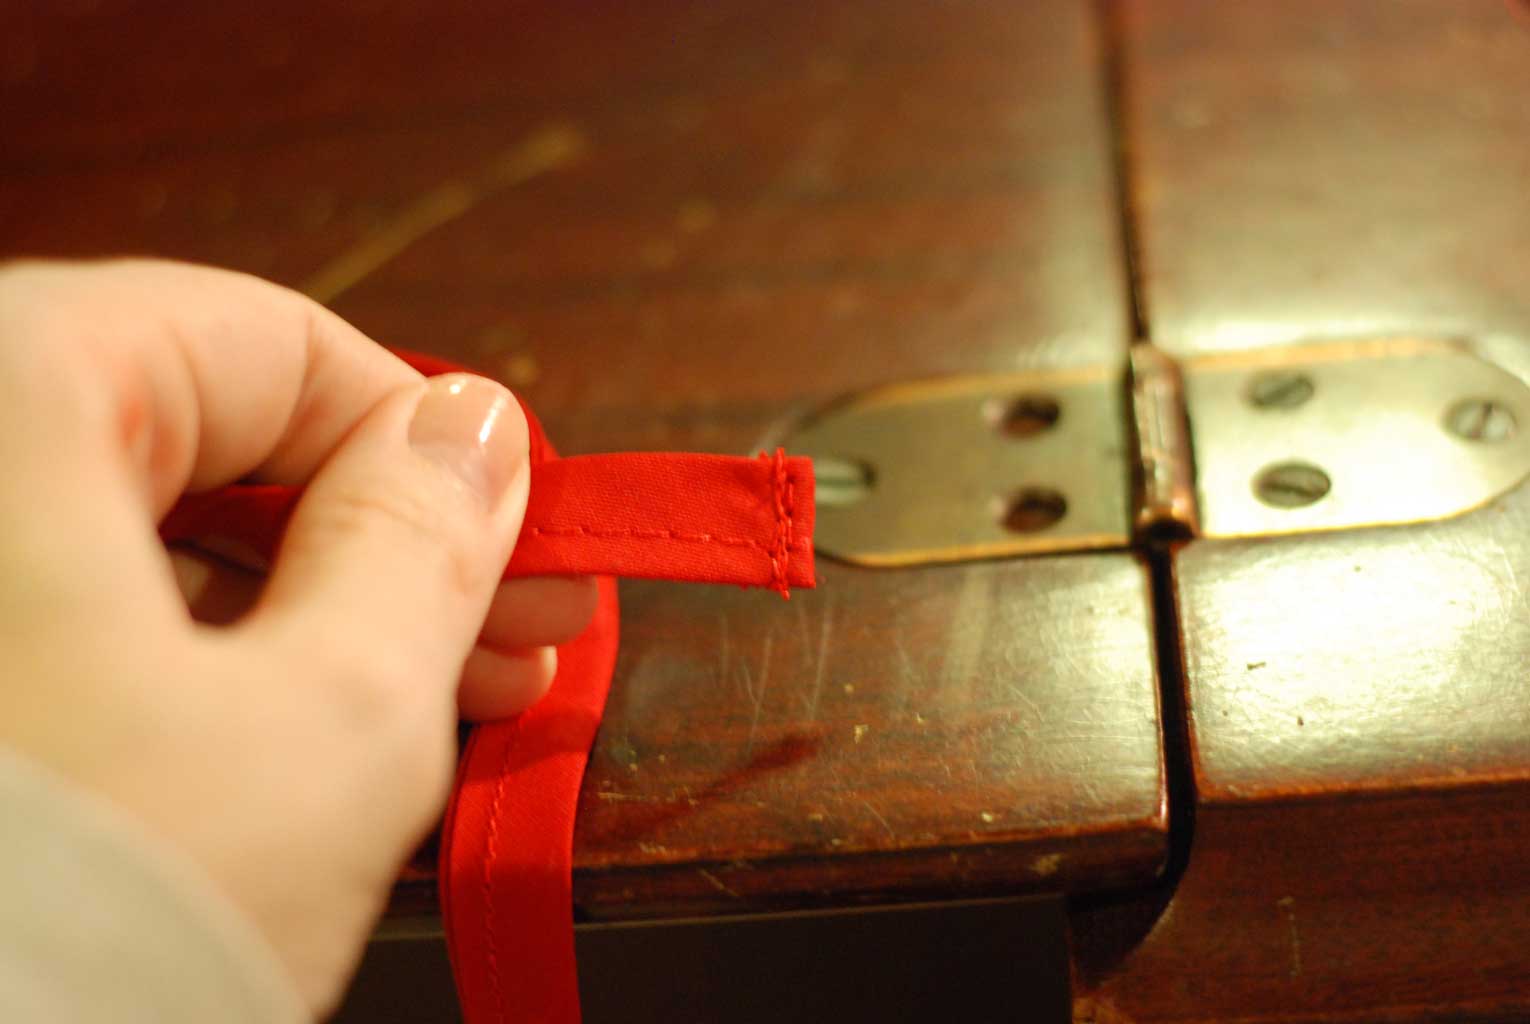
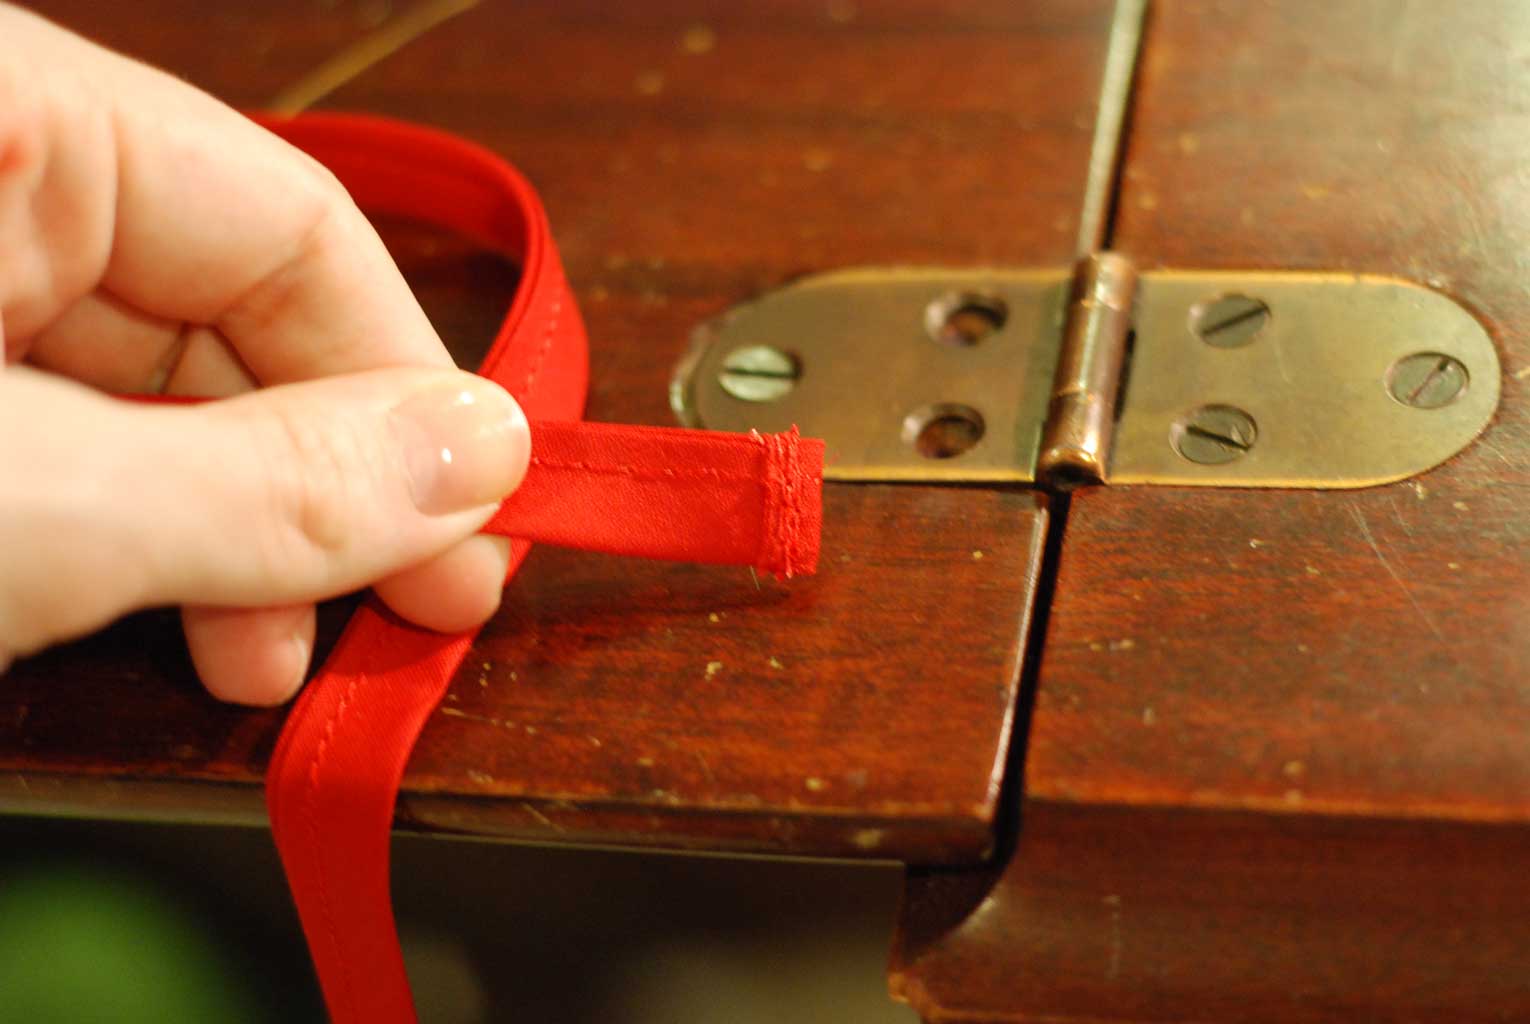
Sew 1/8″ for the ‘open’ edge of the bias tape starting at one end all the way to the other… you will go over the apron in the middle attaching it to what is now the ties. Then fold over the end 1/4″ to the back & sew it down 1/8″ from the edge as well… make sure to backstitch well. Clip threads & you are done!
OPTIONAL STEP 6:
Little to simple for you or your little one? You can always embellish it by embroidering on it or adding pockets & trim!



3 Responses
easygoingorganizer
Great idea! Thanks!
NayNay
Wow, I can not believe that I have not thought about this simple ideal, THANK YOU!
LRO
very cute, I love it!